Hall of Illusions (Hard) — Dungeon Guide
A detailed guide for the Hall of Illusions dungeon on Hard mode: mechanics of the three bosses, transitional barrier challenges, and Gear Score requirements.
Preparation and General Tips
- GS (Gear Score): For a comfortable Hard clear, GS ~4000 and Combat Power ≥ 400,000 are recommended
- Consumables: Always carry yellow potions — they remove periodic damage (DoT). Scrolls and power shards are highly recommended
- Dungeon Feature: All three bosses apply DoT effects — remove them promptly with yellow potions
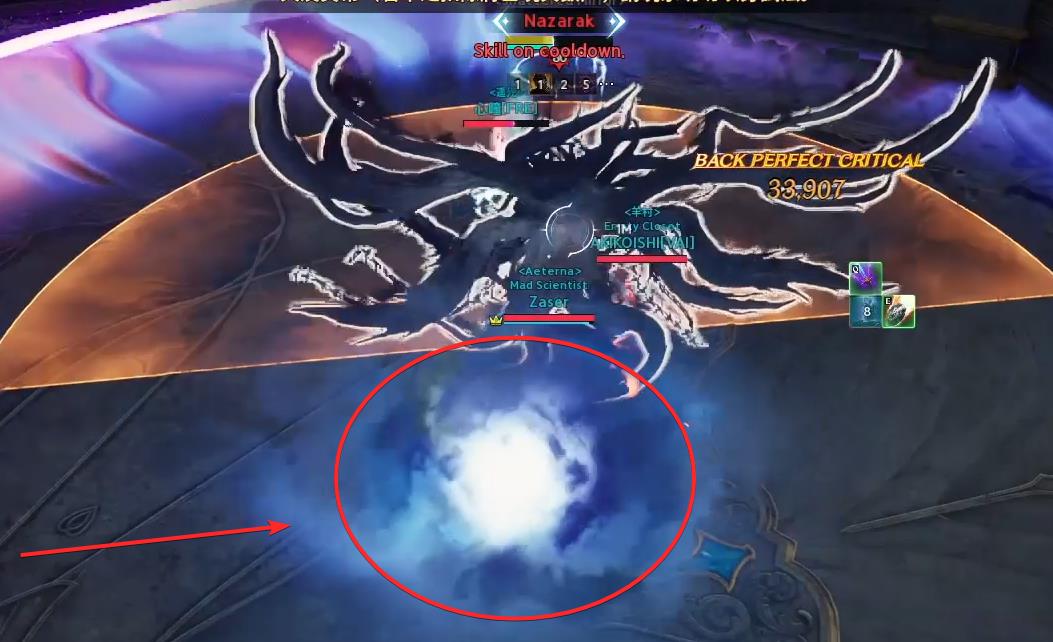
Boss 1 — Nazarak
The main mechanic of this boss is shadows. The golden rule: lead the shadows into the glowing circles on the ground in time.
🔴Red Circle on a Player
A red zone appears on a random group member.
- Other team members must immediately run away from this player
- Stay close only if you are the marked player
👁️Spirits / Shadows
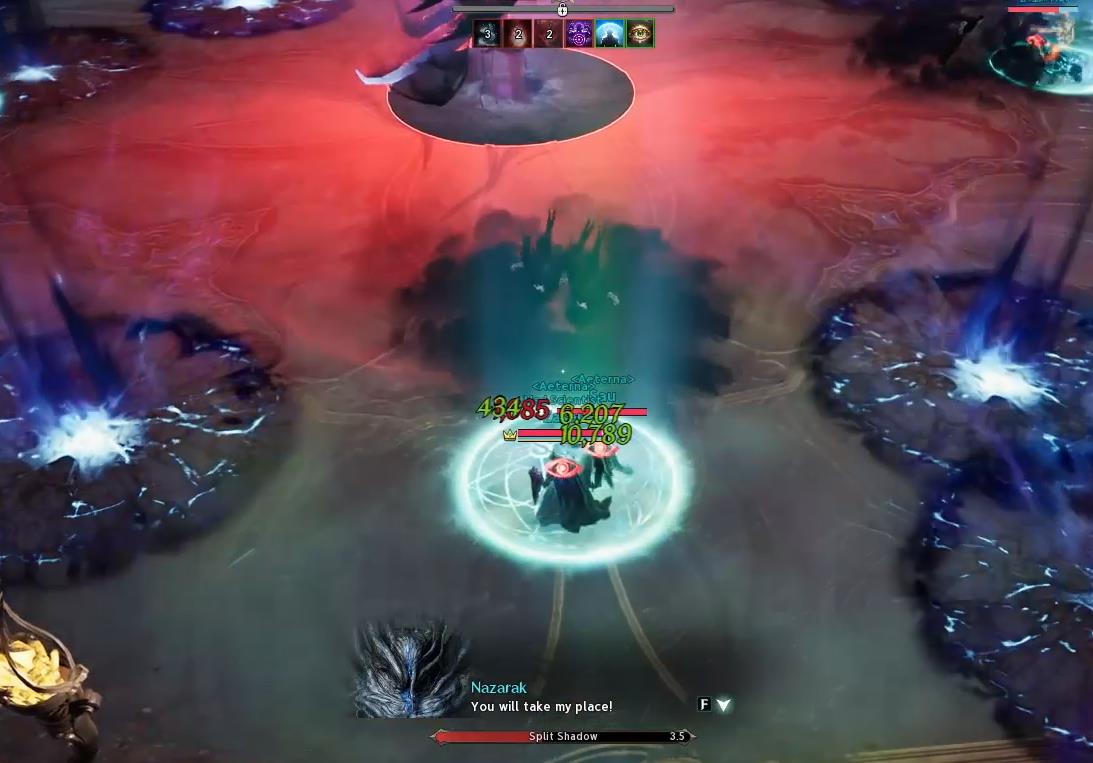
A shadow begins to chase the player with the "eye" icon.
- Lead the shadow into a glowing magic circle on the ground — the shadow will disappear
- If the shadow catches you or you fail to lead it into a circle — it will deal constant damage
- At the end, the shadow applies a mass fear to the entire group (removed by the Defiance skill)
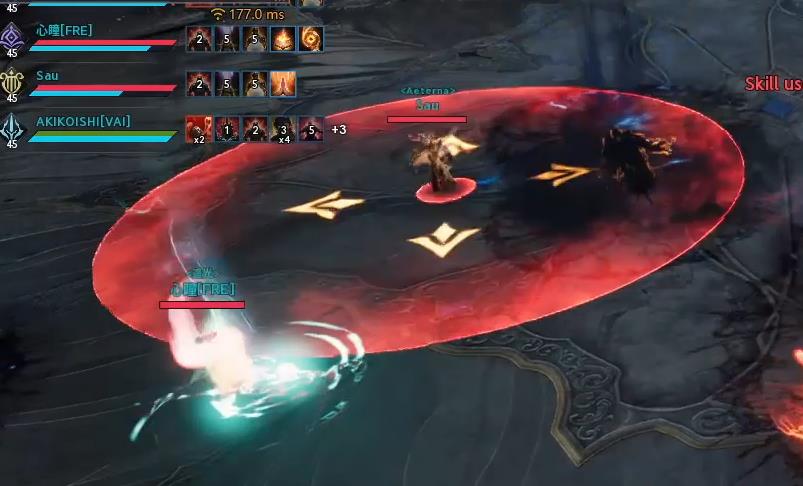
💥Ultimate Mechanic
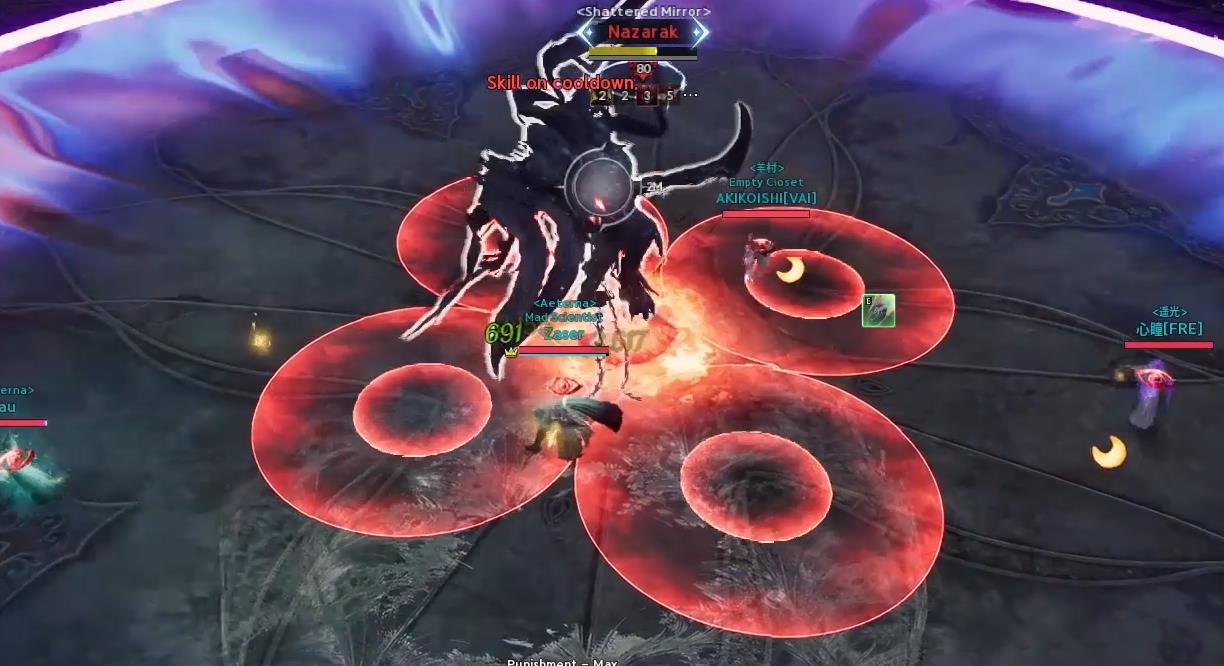
When the boss creates four explosions around itself — shadows appear for all players simultaneously.
- Each player leads their shadow into a circle on the ground
- Immediately after that, urgently move (with a jump or teleport) to the center, to the boss
🔮Flying Spheres
- Do not touch the flying orbs — they deal constant damage while nearby
- Keep your distance and avoid them
Transitional Trials — Mirror Wall
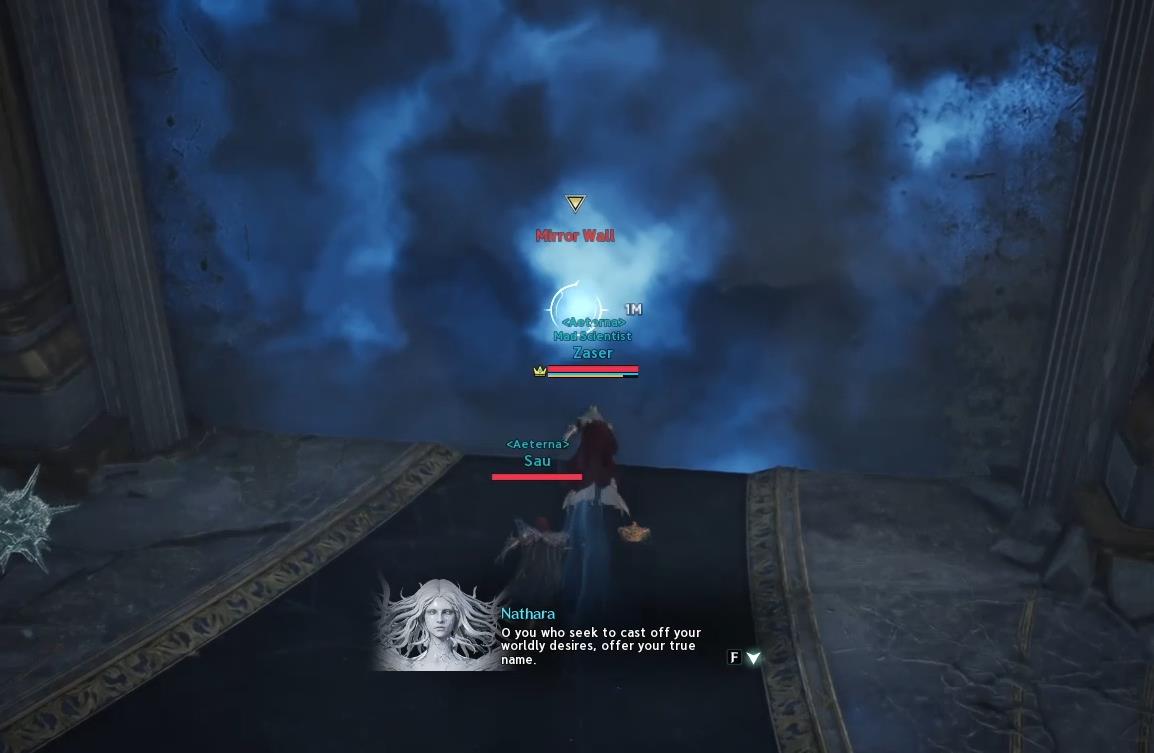
Between bosses, you will encounter magical wall-barriers. A death wall moves behind the group — it kills instantly on contact.
🧱How to Break the Barriers
- The barrier is immune to most skills — hit it with your fastest attacks (LMB/RMB)
- Abilities with many fast hits work well (e.g., a Mage's "Firestorm")
- On the second (more "tanky") barrier, these are extremely useful: healer's totem, attack speed scrolls, and attack speed buffs
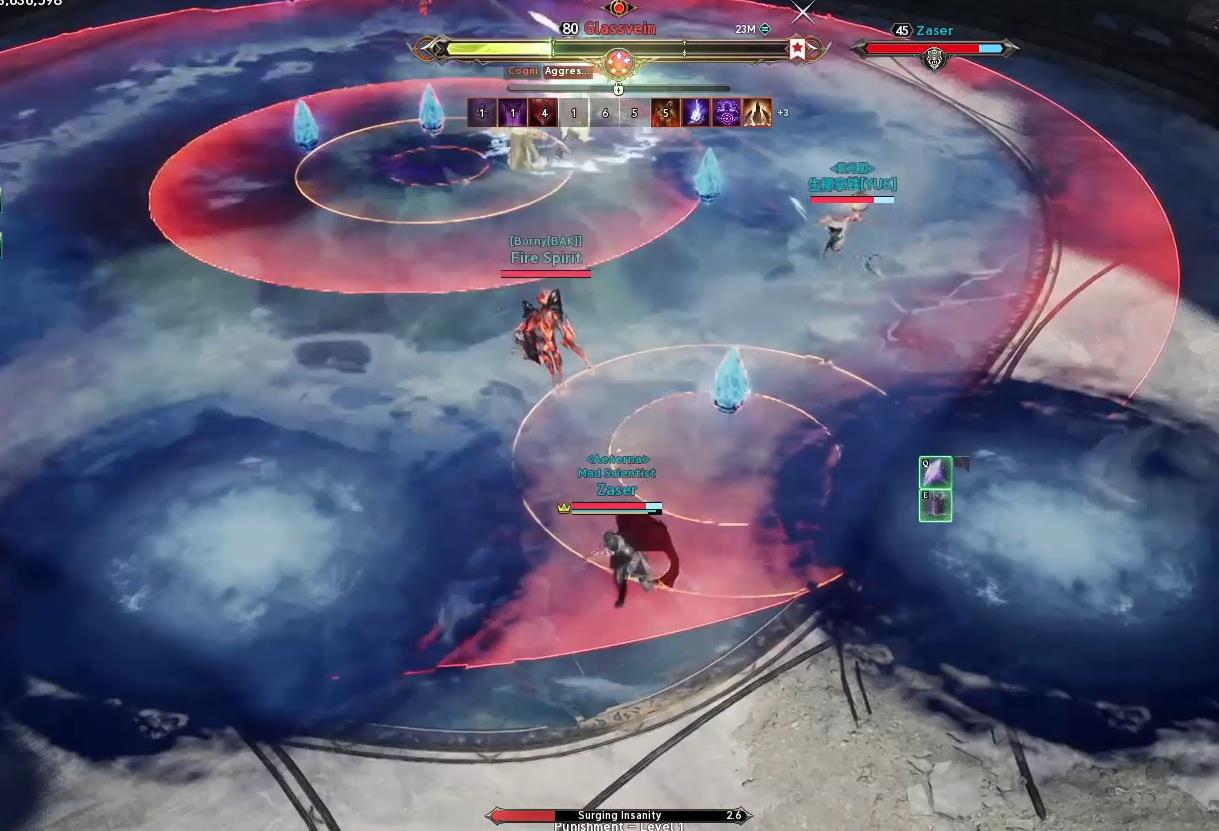
Boss 2 — Glassvein
This boss's mechanics are more obvious and easier to read. The main principle is to spread out in time and jump over.
💎Crystals and Beams
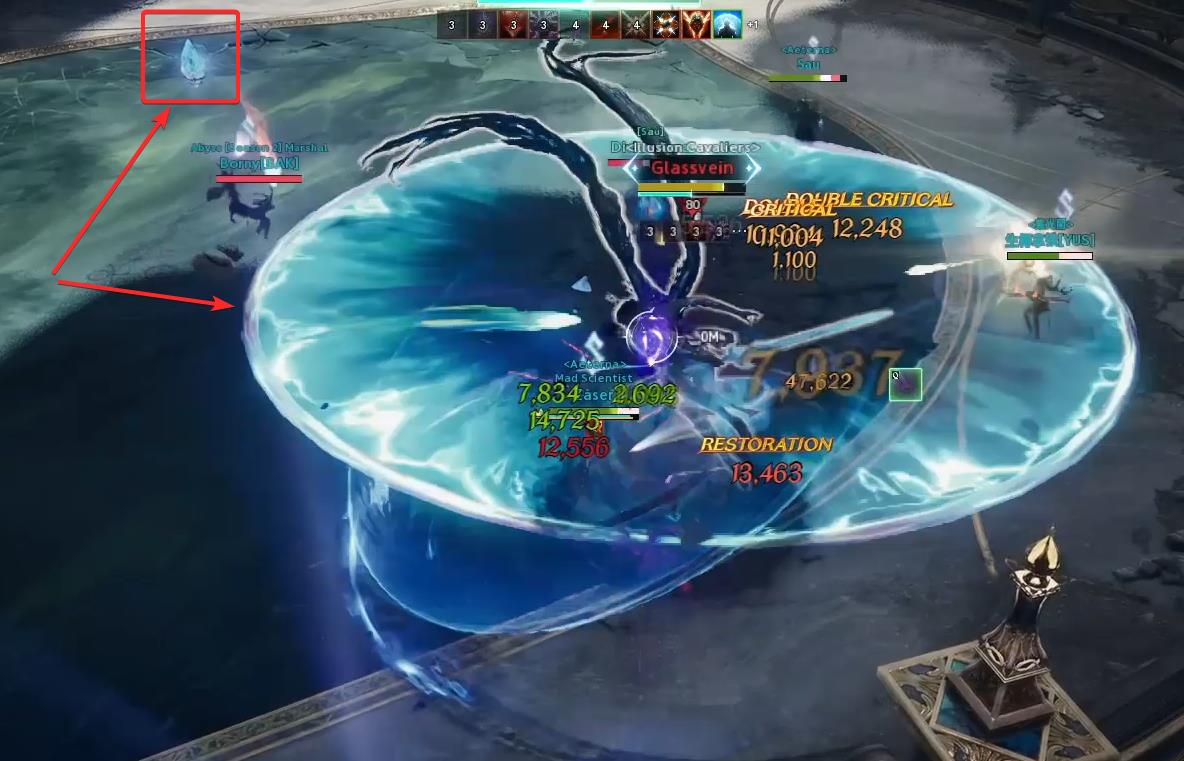
Crystals are placed around the arena, which explode and release spreading beams.
- You must jump over the beams
- Watch the crystals and prepare for jumps in advance
🔥Periodic Damage Zones
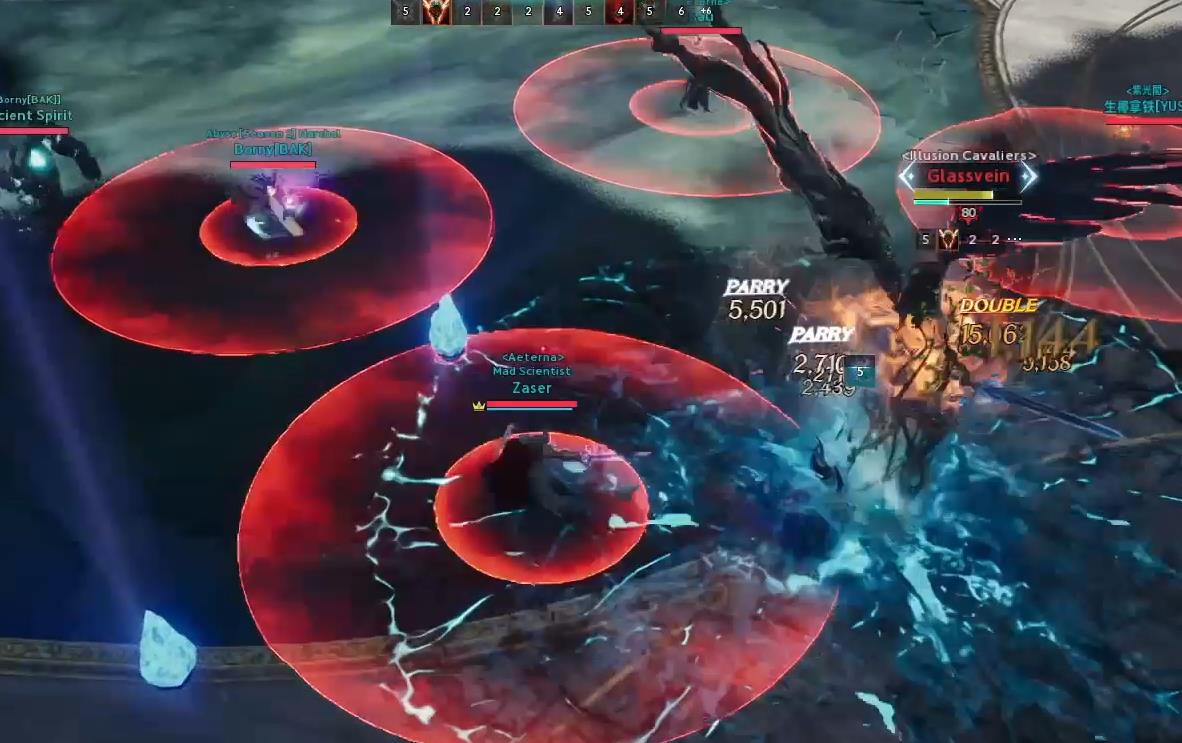
Four red fields appear, which leave behind zones with heavy DoT damage.
- Spread out — so the zones land far from convenient spots for the group
- Simply walk out of zones that have already appeared
🌀Pull-In
The boss creates a large red field, pulls players in, and delivers a powerful strike.
- As soon as you see the red field — immediately run out of the damage zone
- The pull-in doesn't give much time — react immediately
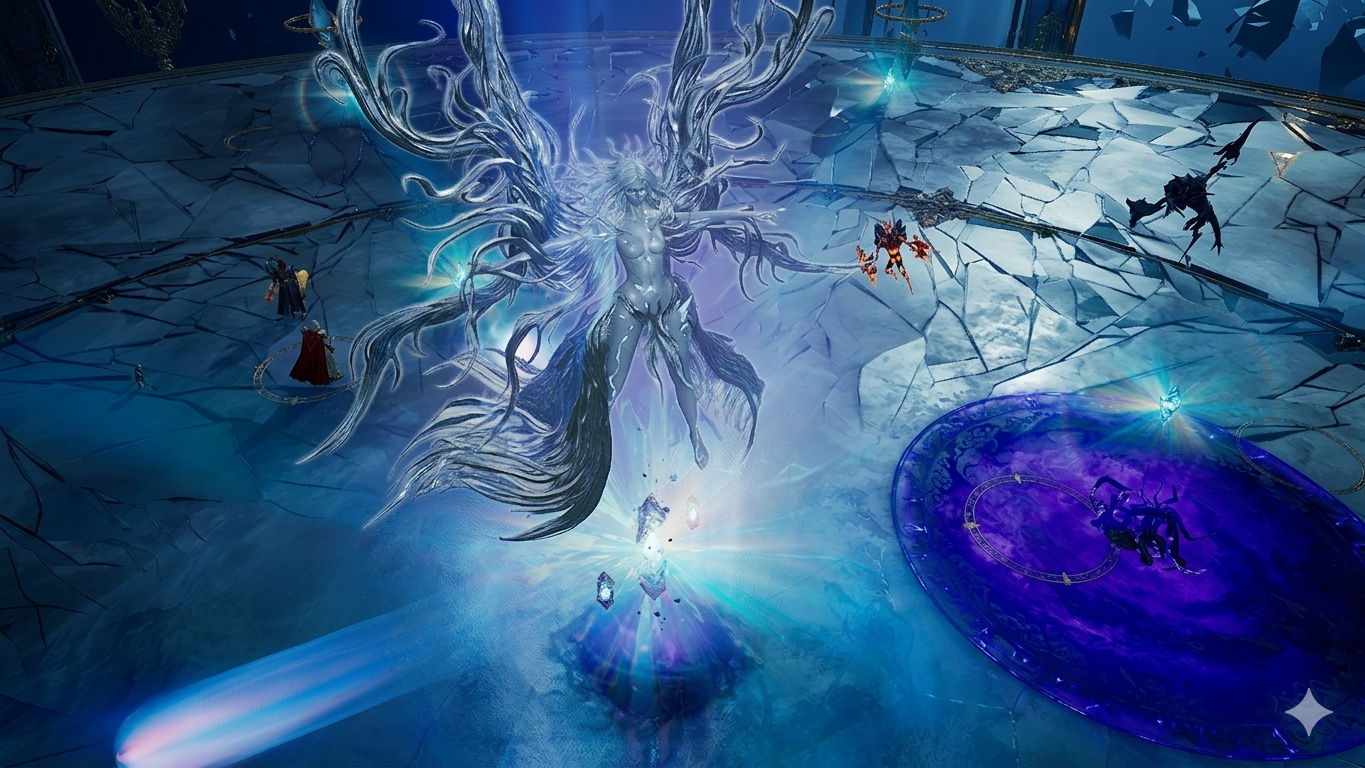
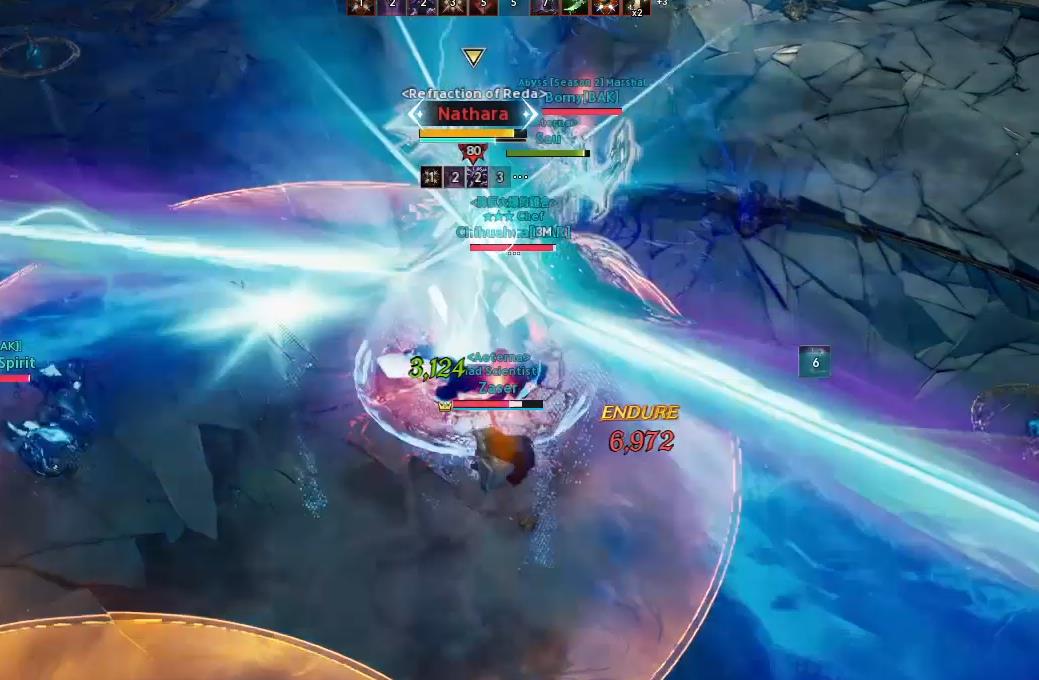
Final Boss — Nathara
The most difficult opponent with unique Hard mode mechanics. Requires attentiveness and group coordination.
⚡Diverging Lasers (Hard only)

The boss fires two lasers in front of her, then spreads them apart across 350°, covering almost the entire arena.
- As soon as you see the floor markers — immediately move behind the boss's back
- This is the only safe zone
✨Light Reflection with Shards (at 75% and 30% HP)
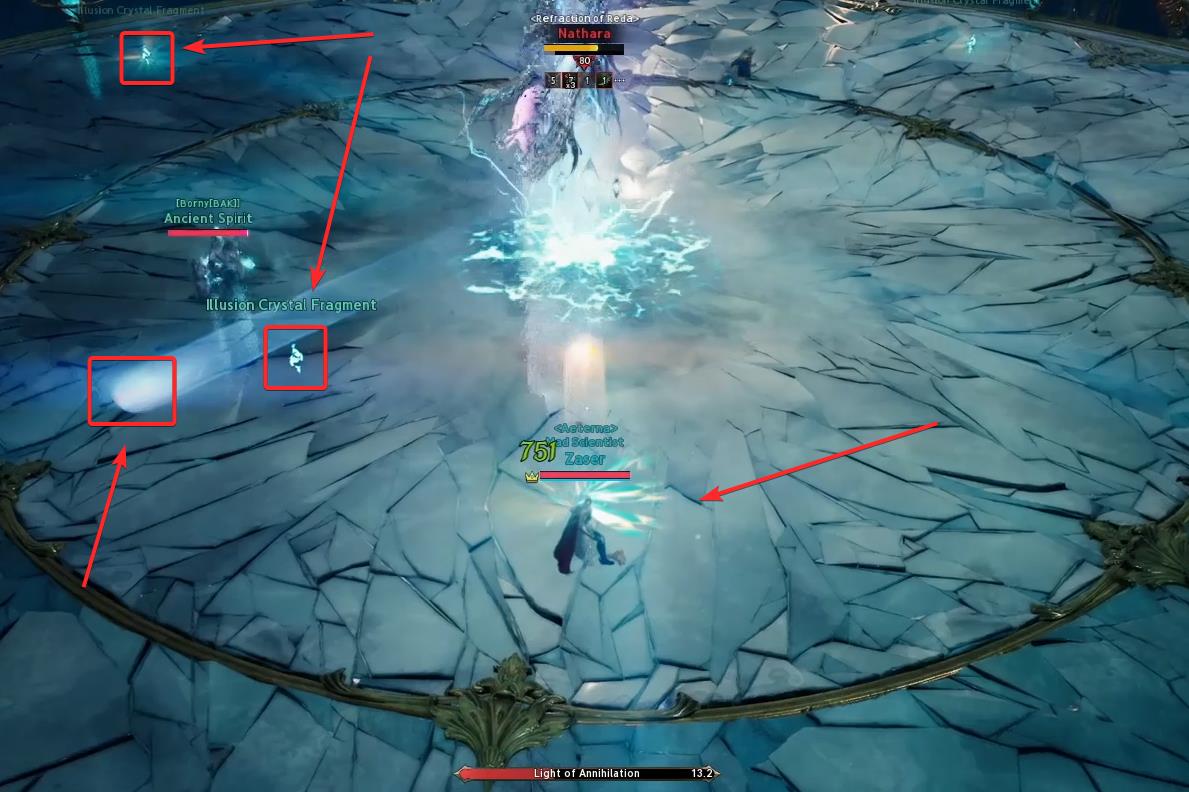
At 75% and 30% HP, a special reflection mechanic occurs.
- Crystals explode all over the arena, leaving behind mirror shards
- Pick up a shard (press F)
- Face the orbs of light flying from the boss and reflect them back at her
👥Illusions — Clones (Hard only)
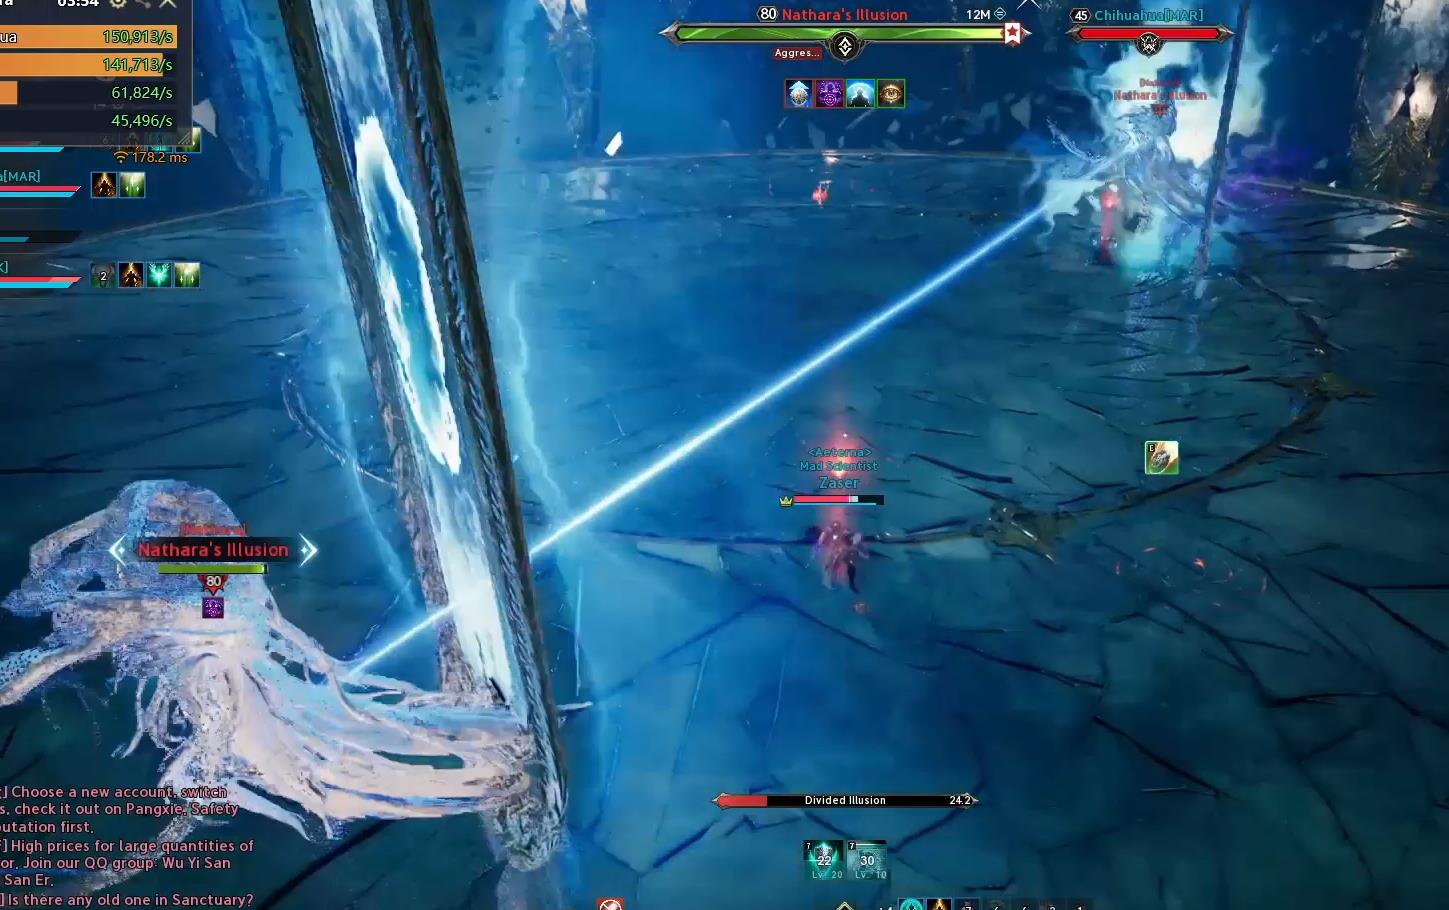
The boss summons two clones. They must be destroyed within a limited time.
- You have 30–35 seconds to destroy both clones
- After the first clone dies, you only have 5 seconds to kill the second one
- Recommendation: bring both clones' HP down to 30–40%, and only then finish them off one by one
- Make sure the clones do not stand next to each other — their combined damage quickly wipes the group