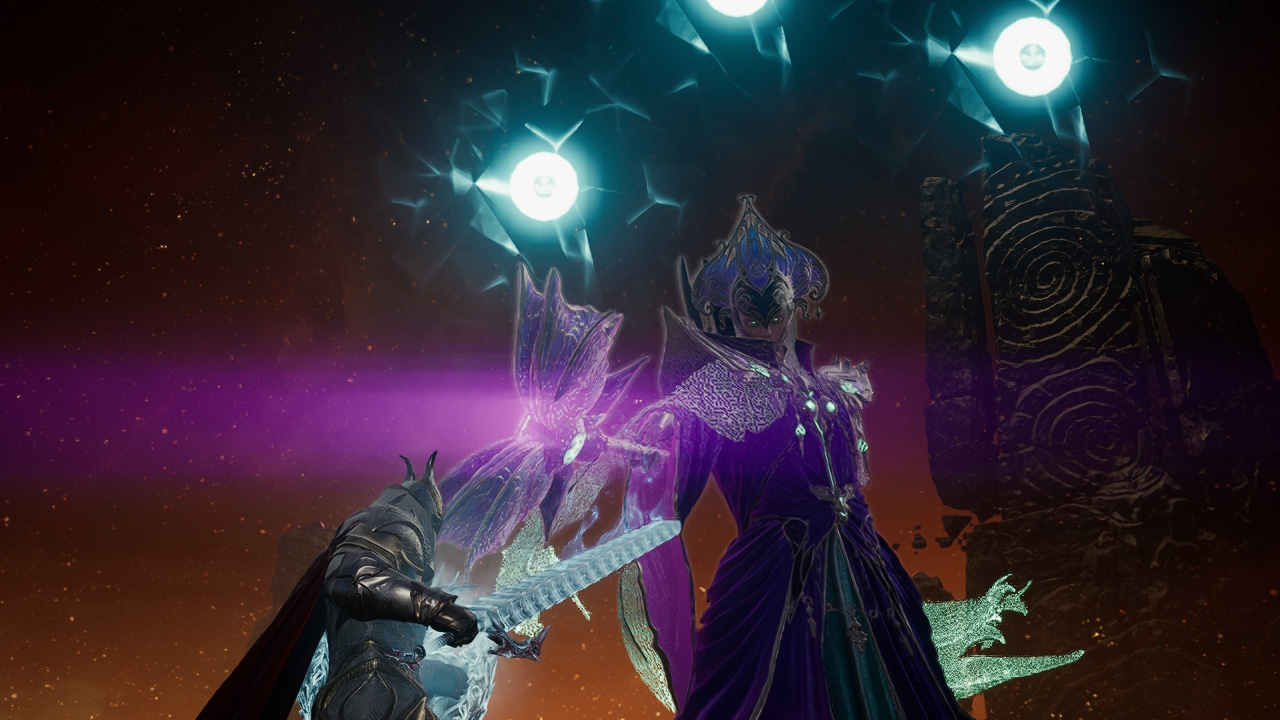
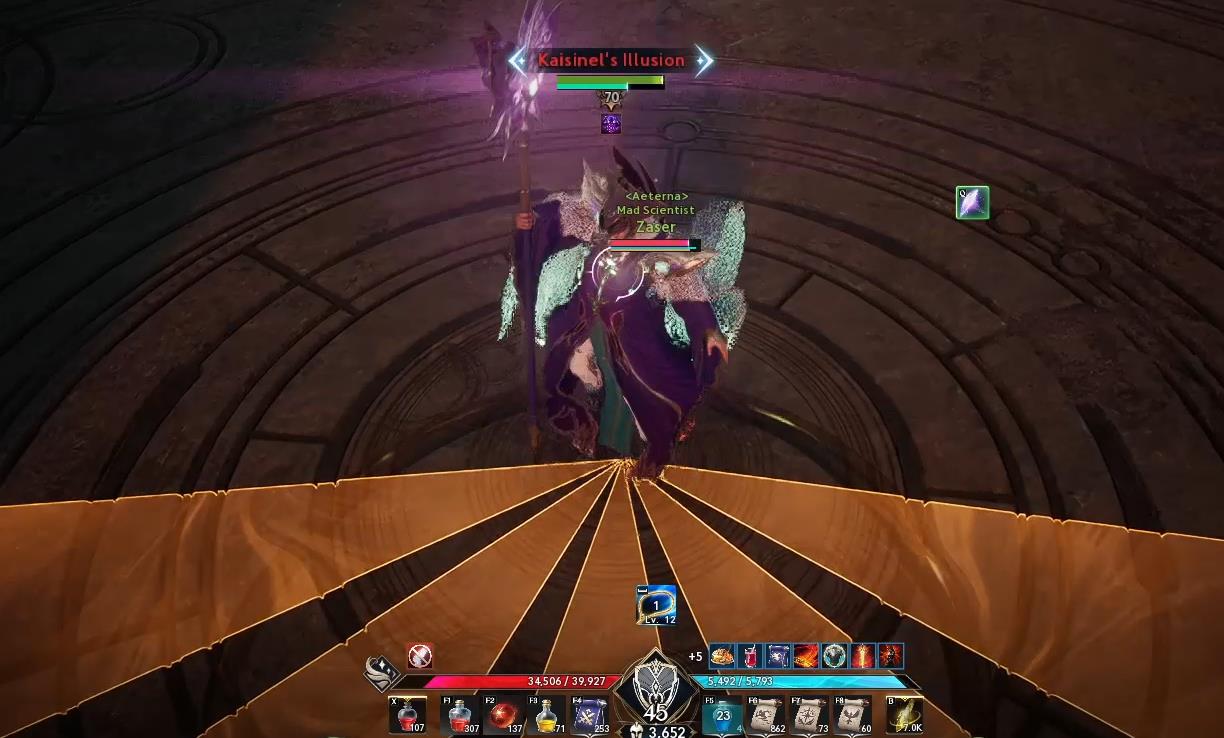
Nightmare: Kaisinel's Illusion — Boss Guide
A detailed breakdown of the Nightmare boss Kaisinel's Illusion: the order of mechanics, when to use Defence, positioning for ranged and melee.
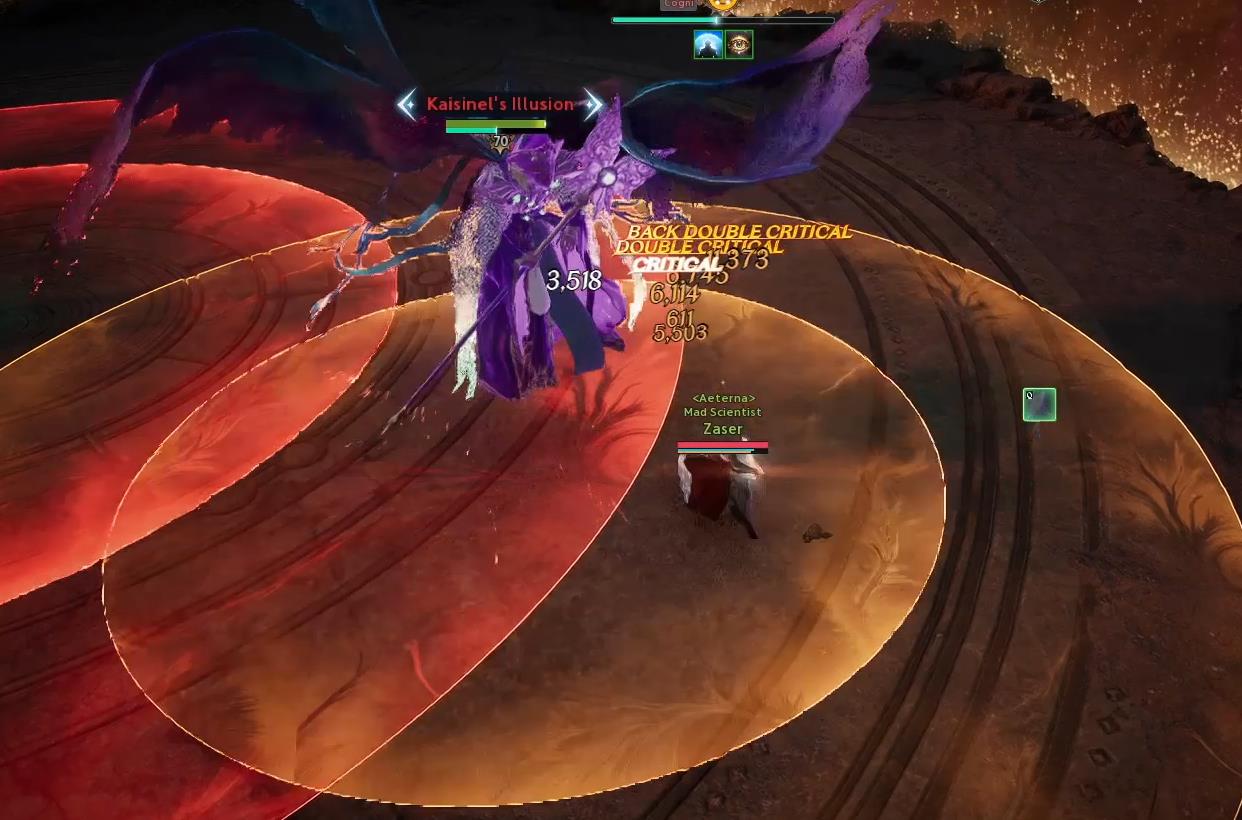
General Strategy
Throughout the entire fight, it's better to stay at close range to the boss — even for ranged characters. Reasons:
- The boss still shoots at range — there is no advantage to fighting from afar
- It's significantly easier to dodge most attacks up close
- You can often get behind the boss's back — he turns slowly
- Many mechanics require quick movement to a safe zone near the boss
Phase 1 — Core Mechanics
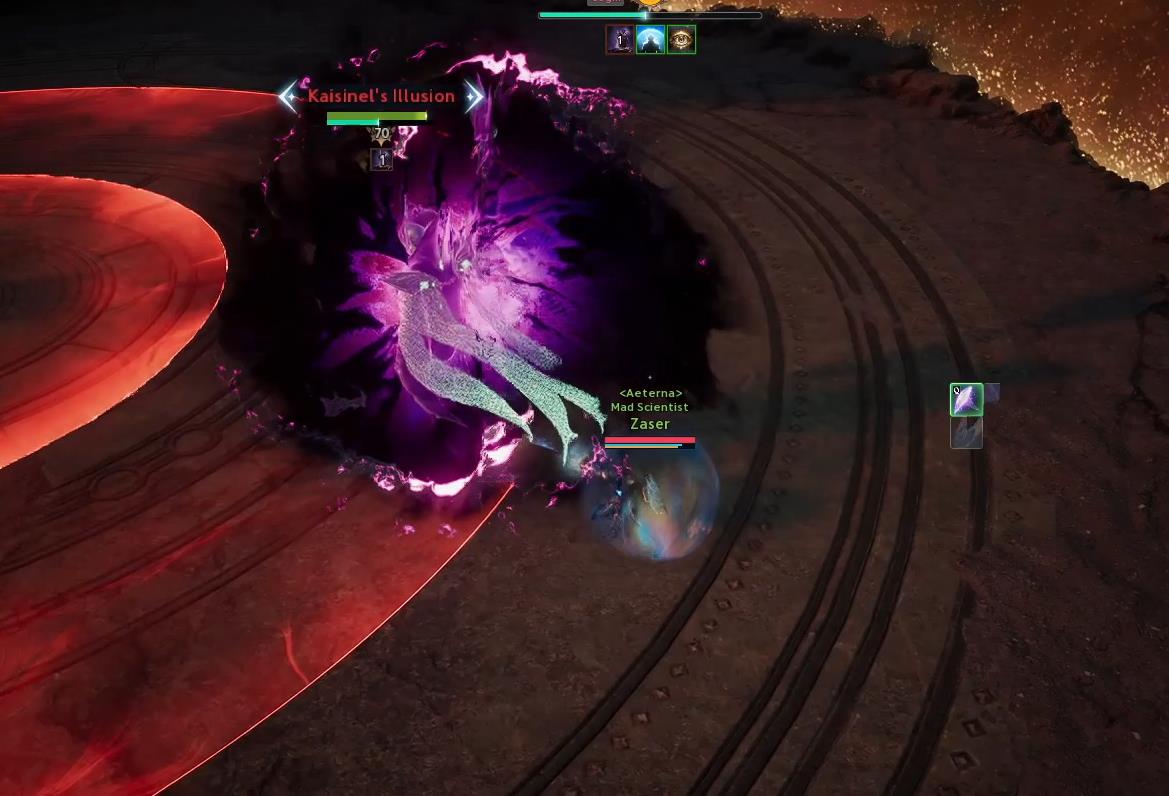
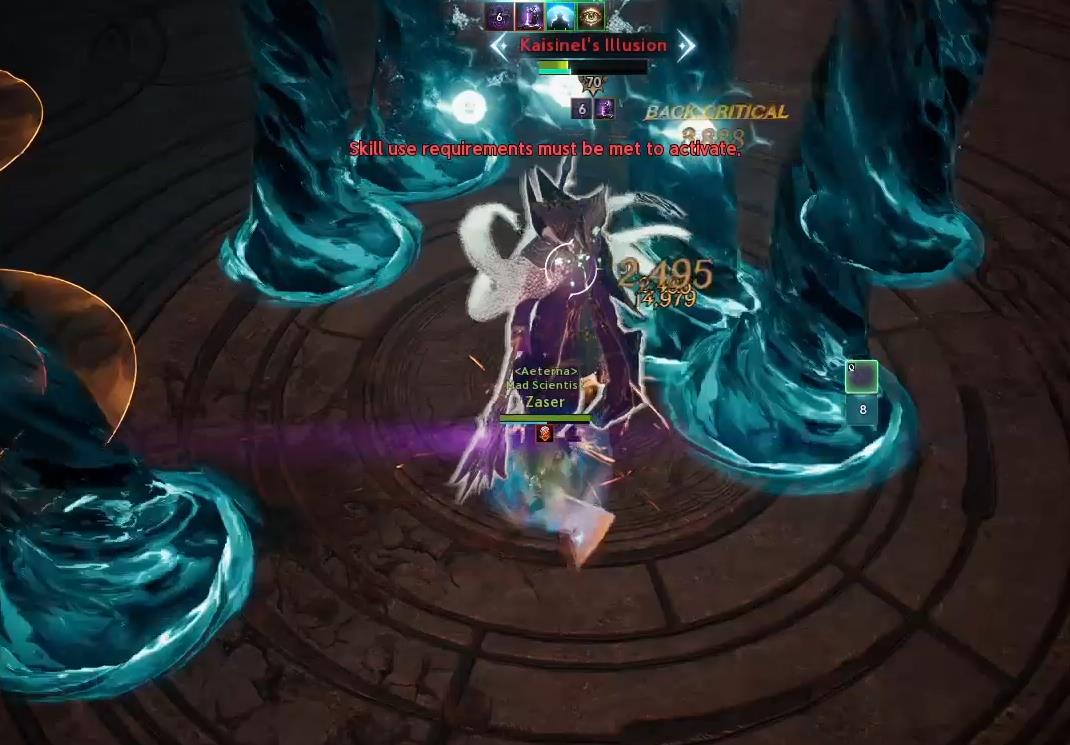
Mechanic 1 — Frontal AoE
The boss starts the fight with this attack. A frontal cone in front of Kaisinel.
- Easiest to dodge with a jump behind the boss's back
- That's why you should start the fight right next to the boss, even as a ranged
- At the start of the fight, you can use Defence if you're not fast enough
Mechanic 2 — Double AoE — Front and Back
Kaisinel teleports, then begins casting an attack that hits the area in front of and behind him simultaneously.
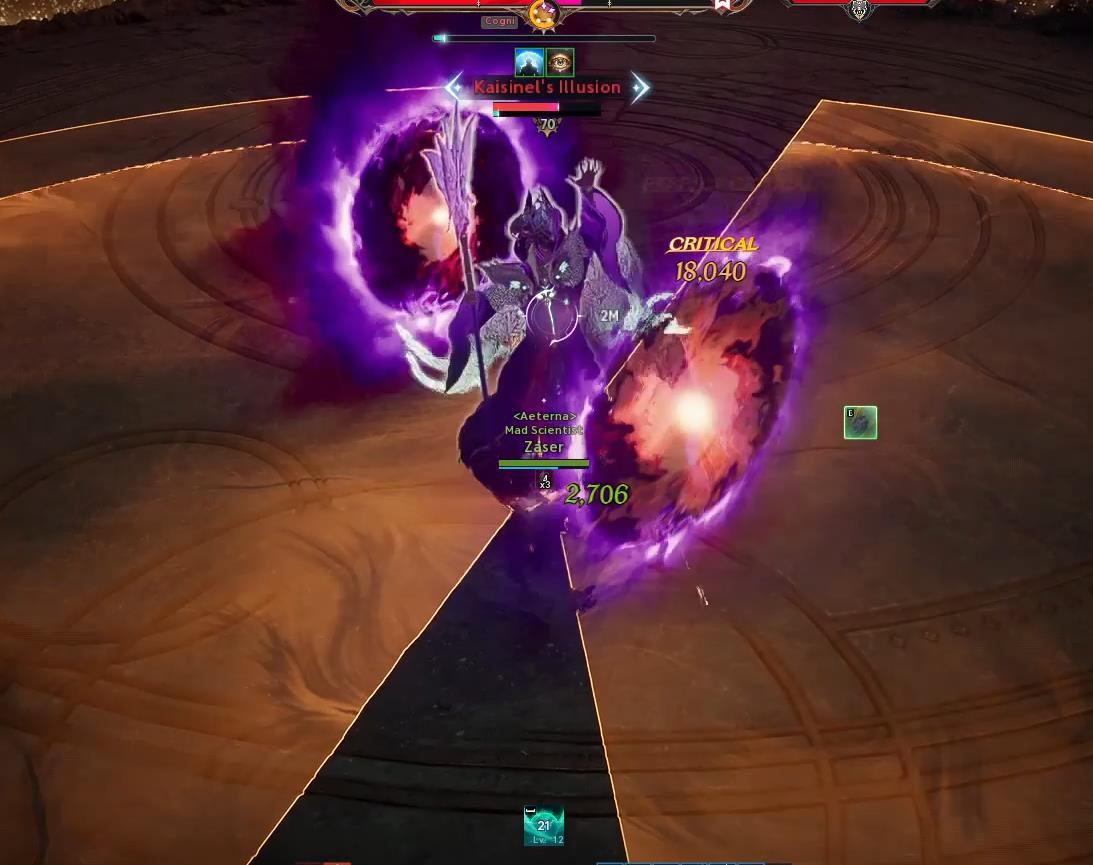
- Safe zone — to the sides of the boss
- If you're standing close to the boss — you will 100% have time to move to the safe zone
- If you're far away — easier to dodge with a dash/dodge roll
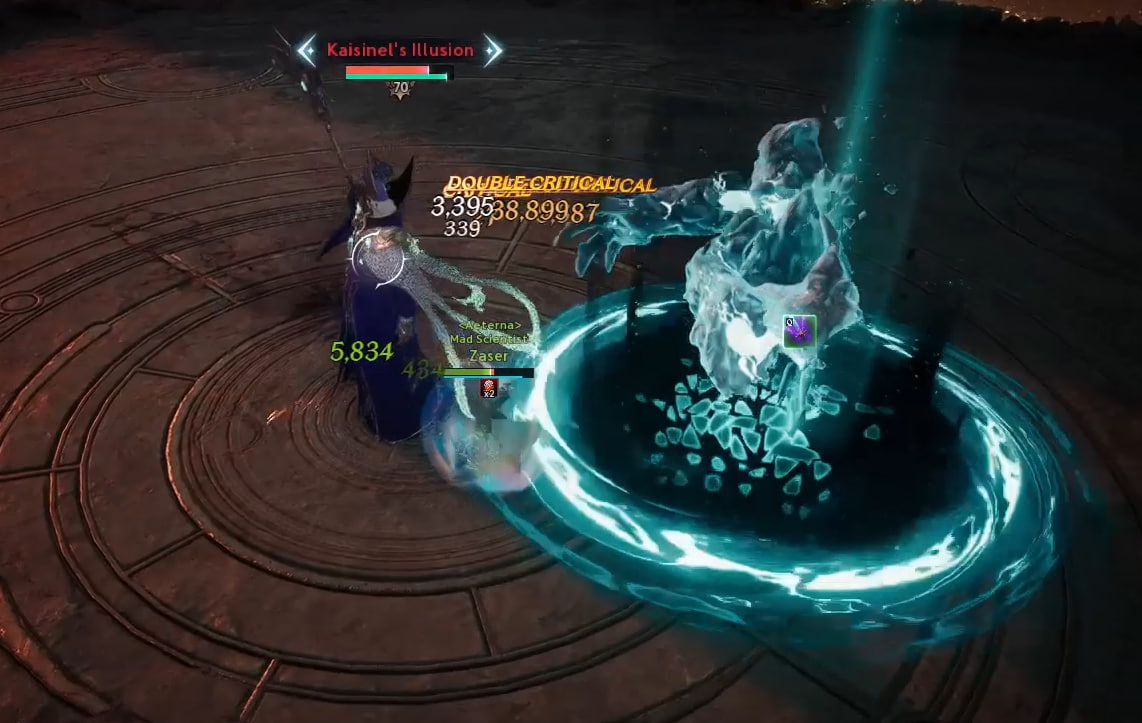
Mechanic 3 — Crystal — Explosive Zone
Kaisinel summons a crystal, which creates a field around it. After a certain time, the crystal explodes.
- You must leave the crystal's field — the explosion kills with 100% certainty
- Usually, at the same time as the crystal, Kaisinel teleports to a player and starts casting an AoE
- Tactic: Wait for Kaisinel's teleport to you, then start running away from the crystal and the AoE simultaneously
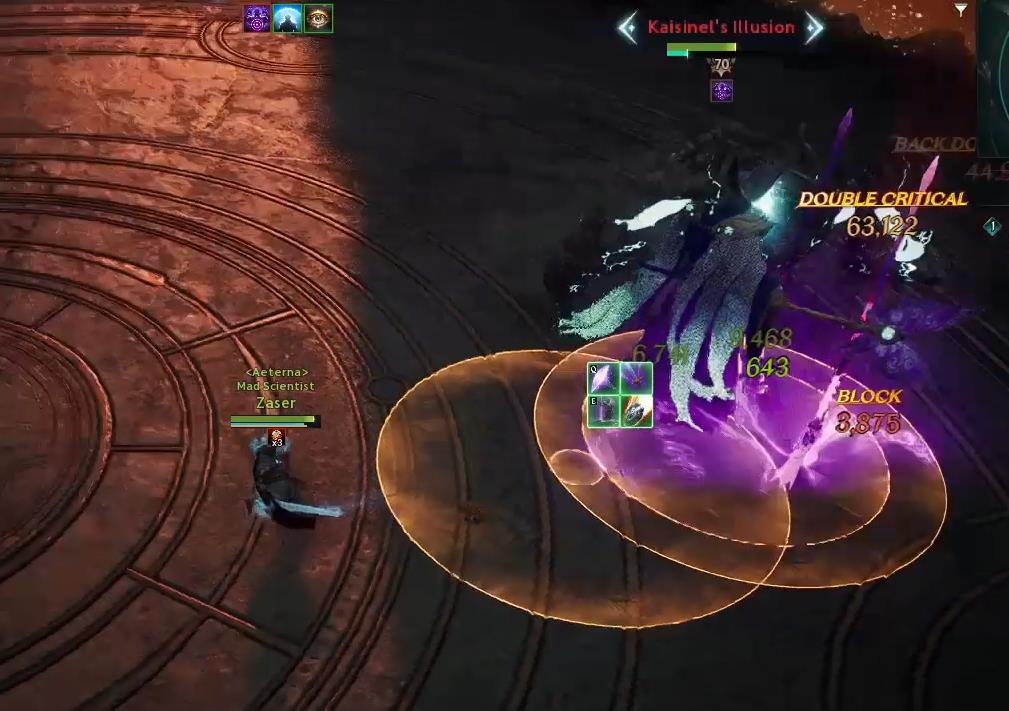
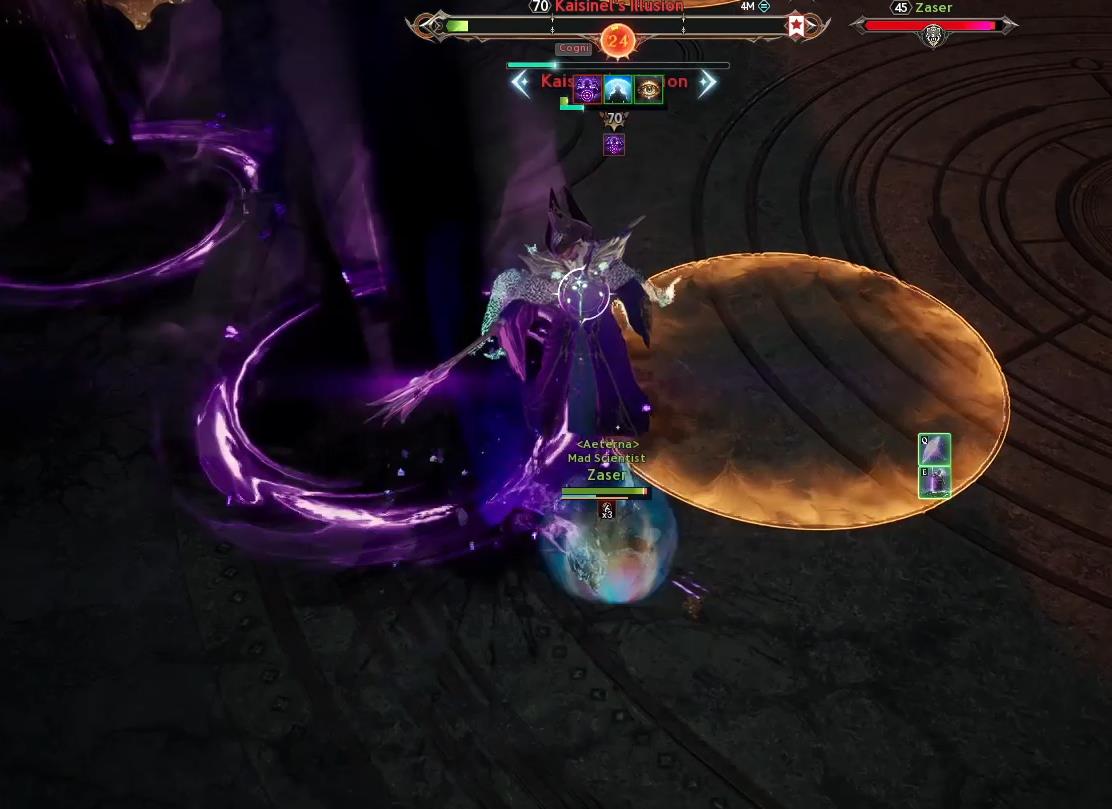
Mechanic 4 — Teleport + Circular AoE
Kaisinel teleports to a player and begins a circular AoE attack around himself.
- You must dodge — move out of the damage zone
- At the start of the fight, this mechanic follows immediately after the crystal summon
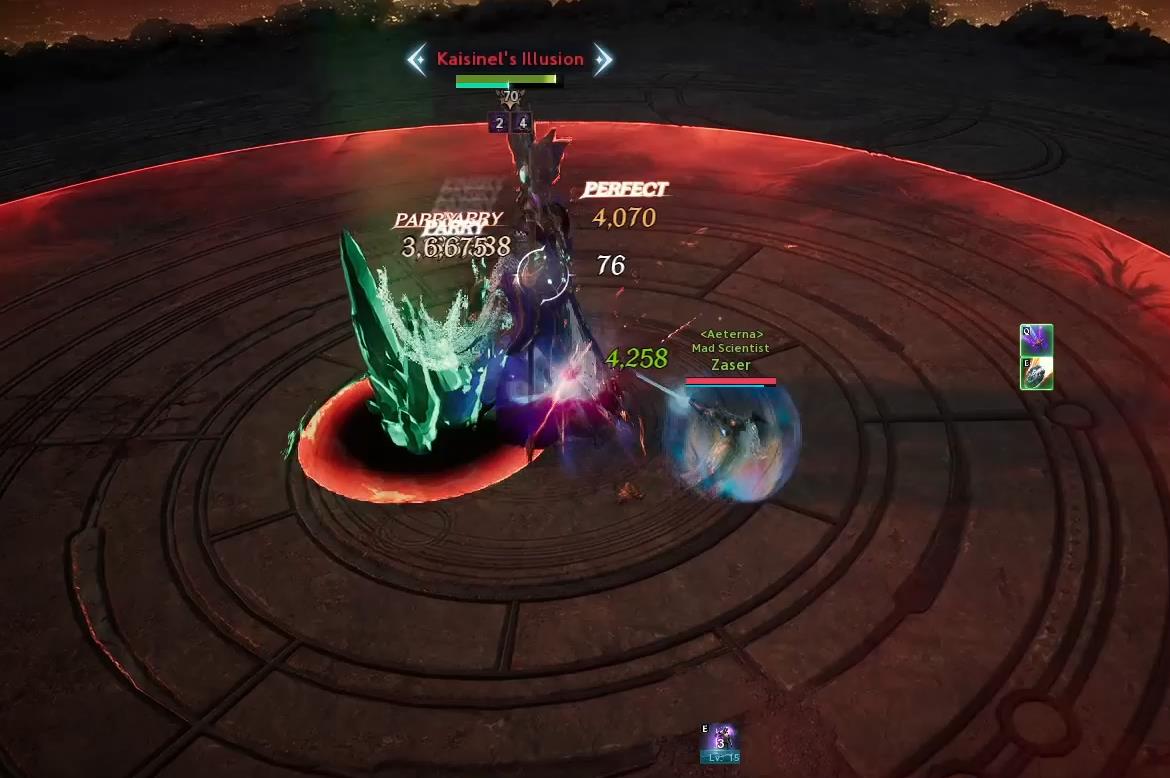
Mechanic 5 — Circles — 1 Large + 5 Small
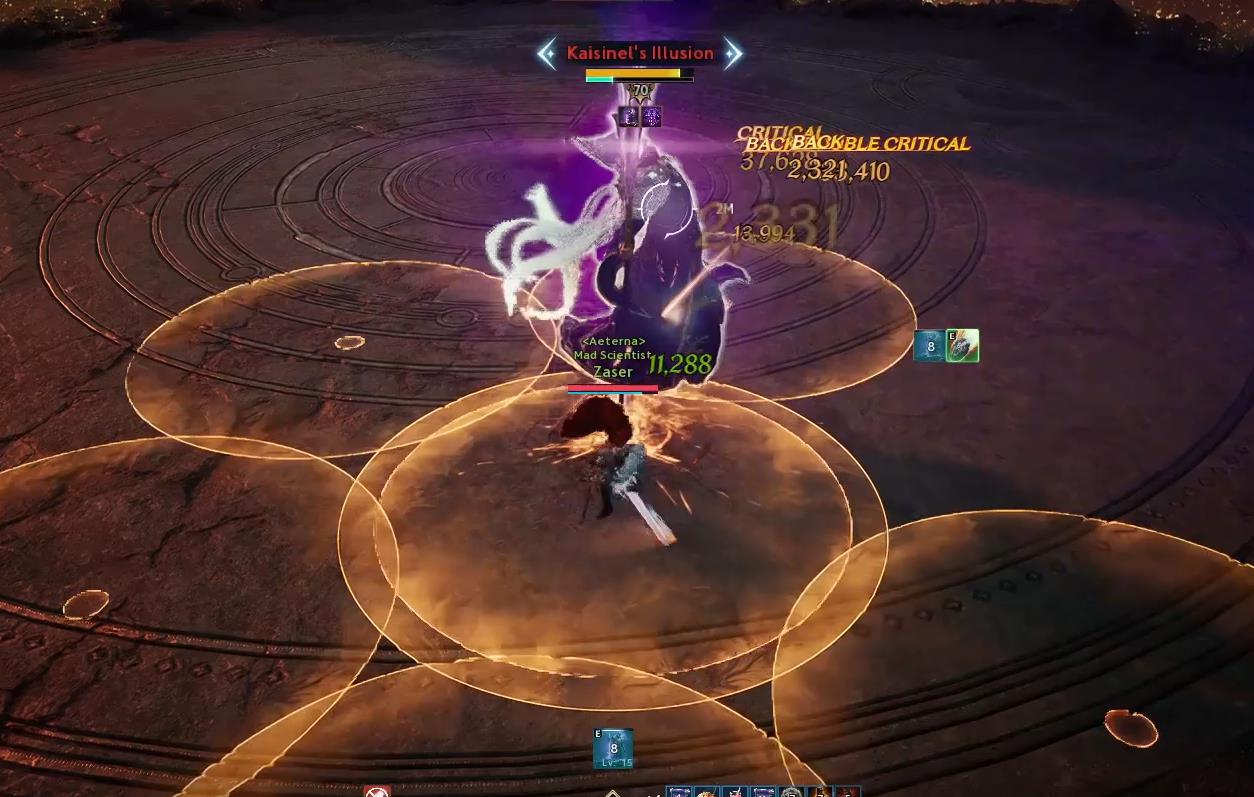
One large circle appears under a player and 5 small circles appear around it. The mechanic repeats twice in a row.
- It's better to handle this mechanic near the boss, because the frontal AoE (Mechanic 1) comes right after it
- Ideally — dodge between the second set of circles, moving out of the large one
- Sometimes it's easier to stay in the large circle and take damage from one, than to miss and get hit by two
The second time — if you get stunned, use Defence to dodge the frontal AoE that follows it (Mechanic 1).
Mechanic 6 — Falling Spears (×4)
4 spears fall onto the arena, each applying a stacking debuff of −10% armor.
- You must dodge! With a high number of stacks, other mechanics become deadly
- Each hit = −10% armor, with 4 hits = −40% armor
- The debuff significantly increases damage taken from all subsequent attacks
Mechanic 7 — Diverging Beams
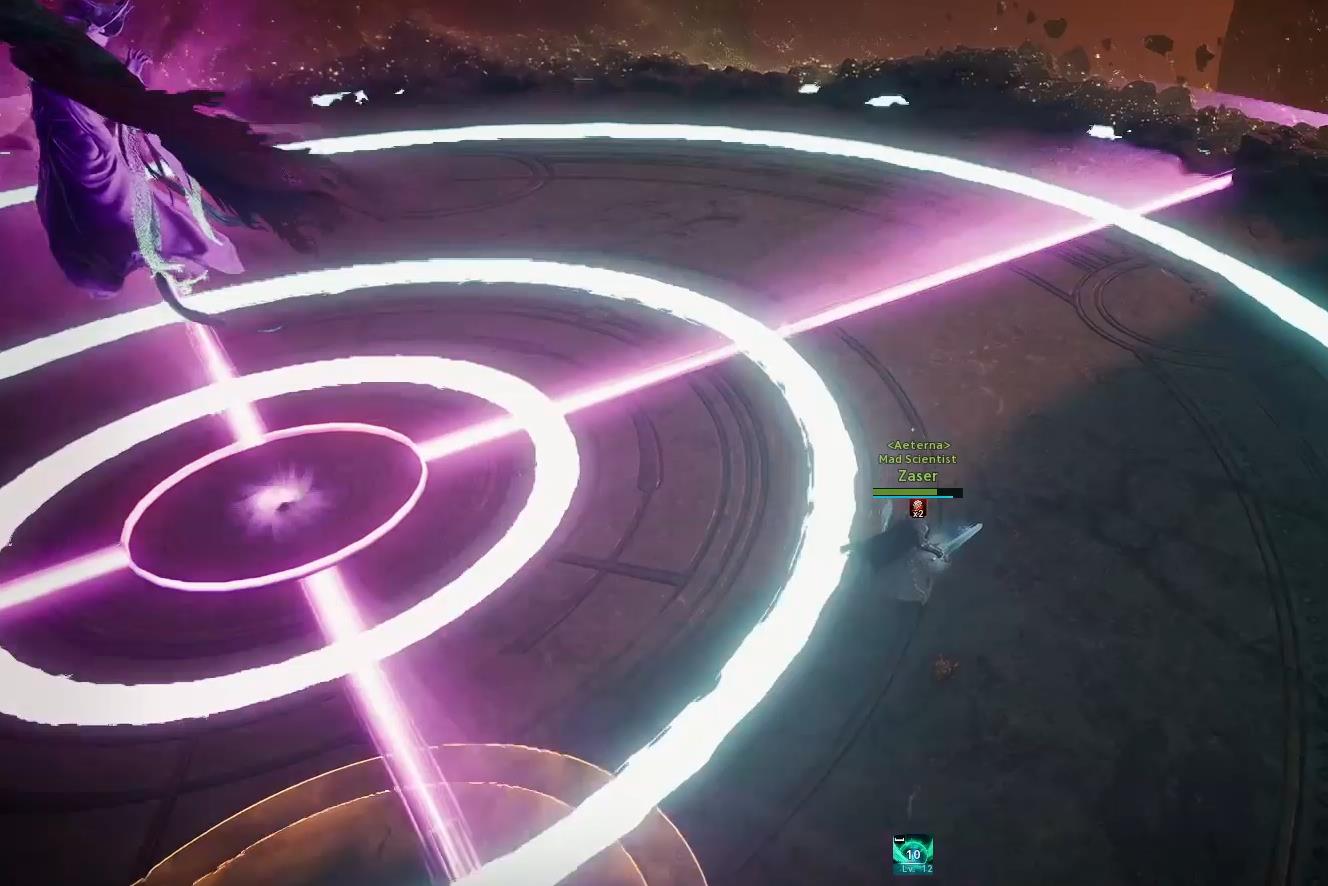
Kaisinel releases diverging beams from the center. You need to stand between the beams.
Your task is to jump through this moment by any means necessary. If you have ping issues, you will likely have to test exactly how to jump to avoid the damage. Also be careful, you cannot jump in place, as a damaging beam falls from above.
Phase 2 — Ancient Elemental
After the first beam mechanic, Kaisinel summons an Ancient Elemental. From this point, the fight becomes significantly harder — all previous boss mechanics continue, but the elemental's attacks are added.
Ancient Elemental's Attacks

Pulls all players towards the center. You must actively run away.
Moving vortexes across the arena. Avoid contact.
AoE stun at the summon's location. Always keep your distance from the summon.
The most dangerous attack. Usually misses, but if you are stunned — it instantly kills.
Phase 3 — Ground AoE Stuns
After the second beam mechanic, AoE explosions that stun begin to appear on the arena floor. They can be seen in advance via indicators.
- The explosions are visible in advance, but they can appear in the safe zones of Kaisinel's mechanics
- Because of this, sometimes you can only avoid them by dodging, not by standing in a safe zone
- Especially dangerous during the circle mechanic (1+5) — you can take a lot of damage
- All of Kaisinel's and the elemental's mechanics continue to work simultaneously
Using Defiance
Proper use of Defiance is critical in this fight:
| Mechanic | Defiance? | Note |
|---|---|---|
| 1. Frontal AoE | Yes (at start) | Only at the very beginning of the fight |
| 2. Double AoE | No | Dodge by moving to the safe zone |
| 3. Crystal | No | Only move out of the zone |
| 4. Circular AoE | Situational | Better to dodge |
| 5. Circles (1st time) | No | Save it for the 2nd time |
| 5. Circles (2nd time) | Use | If stunned — use Defence to dodge the next frontal AoE |
| 6. Spears | Situational | Better to dodge |