Sanctuary (Ludra) — Dungeon GuideAION 2 Guide
A complete breakdown of the Sanctuary dungeon: raid composition, group splitting, mechanics for all 4 bosses — from the prologue to the final dragon.
Dungeon Overview
Sanctuary is an 8-player dungeon designed for characters with a minimum Gear Score of 2700. The main reward is orange guns, and the grand prize is the gold and orange bracelets.
The dungeon consists of 4 stages:
Group for Rahu
- Easier to kill with melee classes
- A cleric with resurrection is desirable, but not mandatory
Group for Ketu
- Almost impossible without a cleric with resurrection
- It is highly desirable to have a ranger for the spirit phase
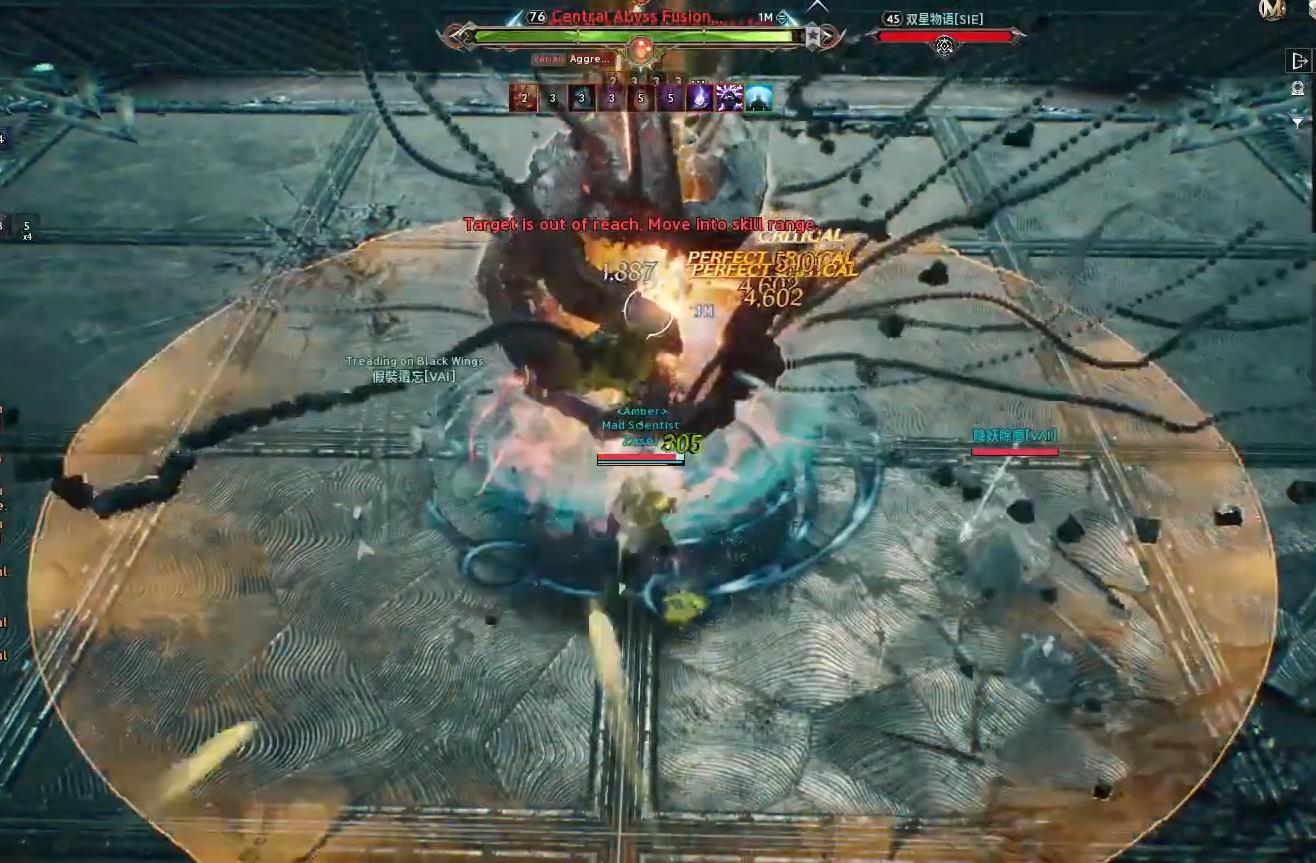
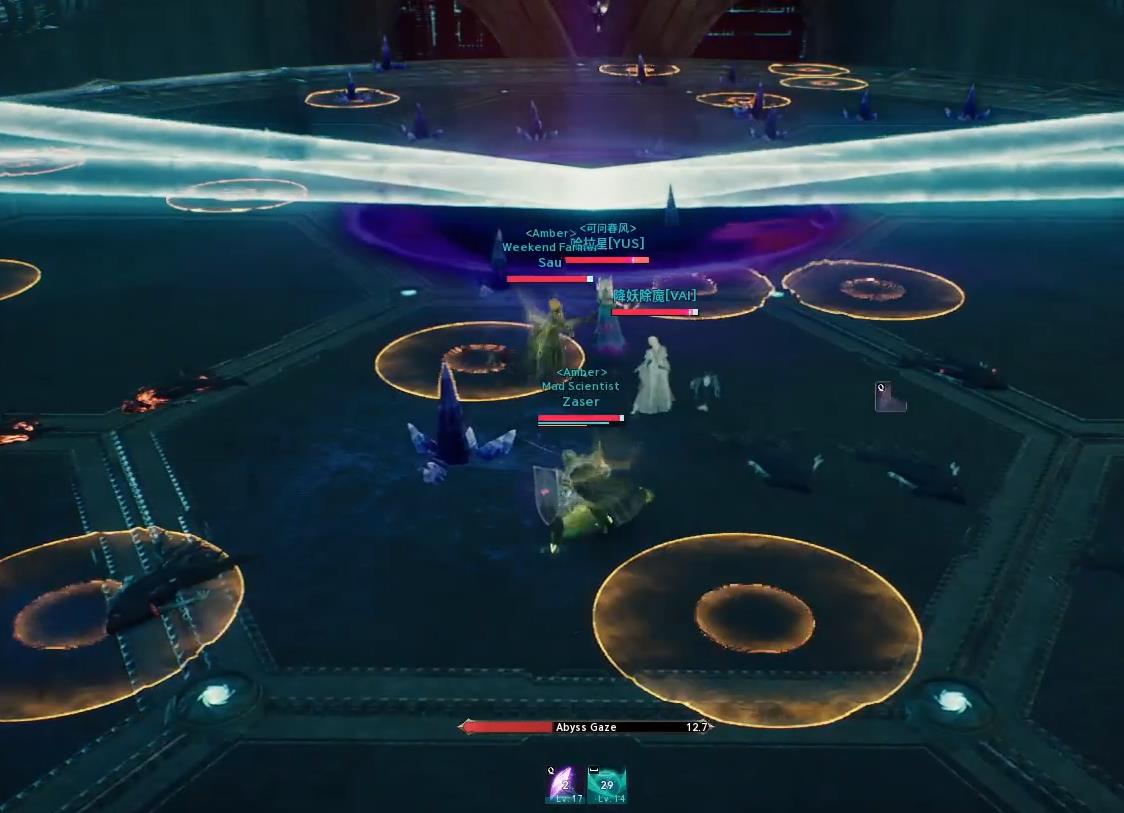
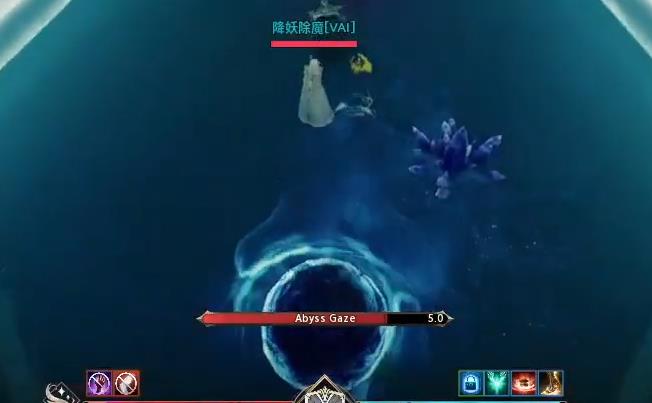
Prologue Boss: The Core (Fusion Reactor)
A prologue boss that grants access to the main part of the dungeon.
Main Attacks
- Circular AoE — periodic area attack
- X-Shaped Attack — cross-shaped strike across the entire arena
- Constant Mob Spawns — must be controlled

Additional Reactors
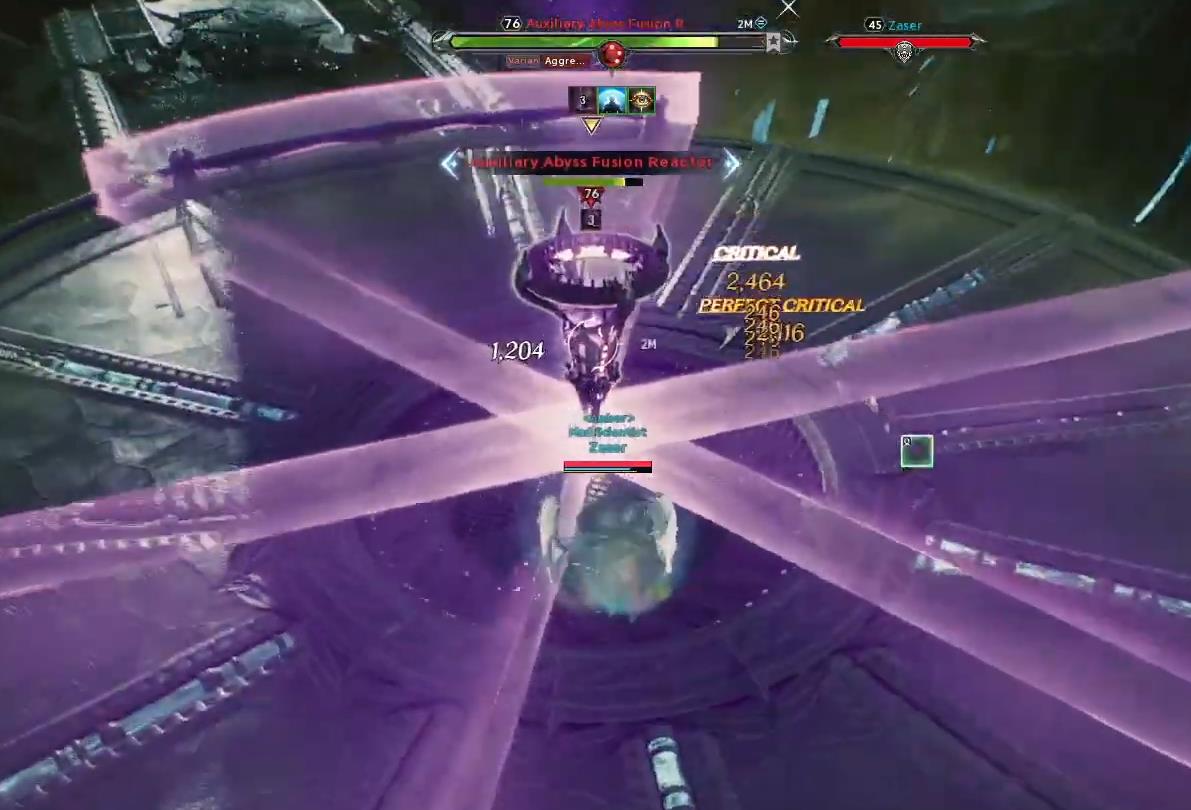
Additional reactors periodically appear: left, right, and central. They grant a shield to the main core, reducing incoming damage.
- Use the air platforms to reach the reactor
- Destroy the additional reactor — 1-2 players are enough
- After destroying it, return to the main core
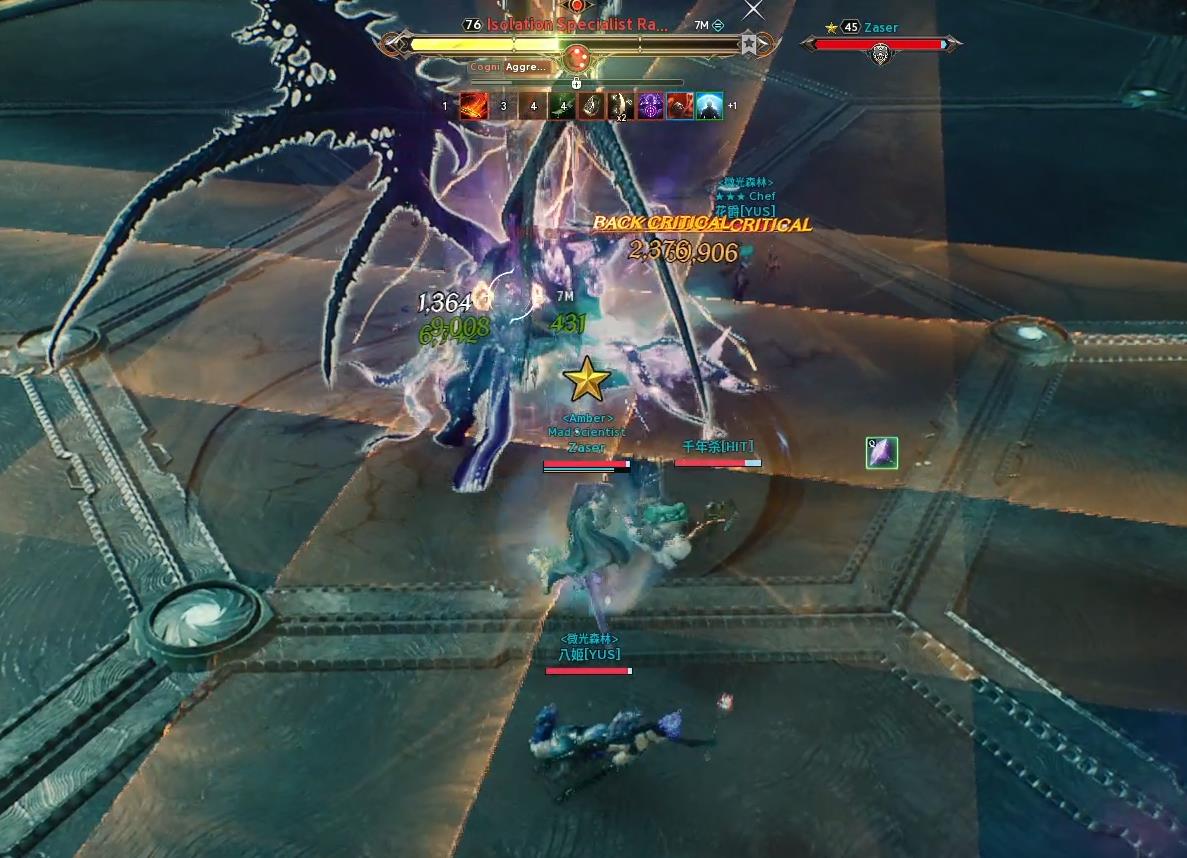
Boss 1: Rahu — Isolation Specialist (Isolation Specialist Rahu)
The first full-fledged boss. Mechanics revolve around debuff transfer, safe zones, and team coordination.
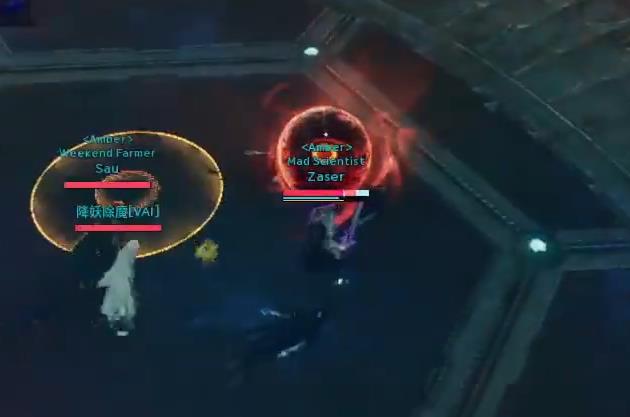
Mechanic 1 — Clock (debuff transfer)
A player receives a growing circle (timer) and takes constant damage.
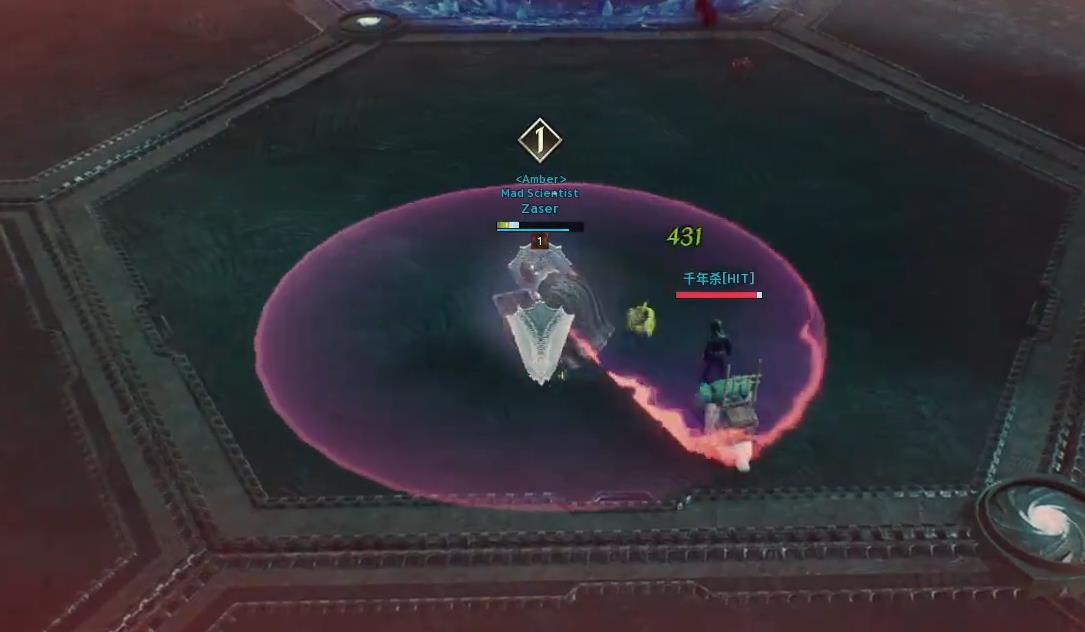
- When the timer ends — the debuff is transferred to a player inside the circle
- If no one is inside — a dangerous purple ground pool appears
- The pool deals heavy DoT damage and reduces maneuvering space
Mechanic 2 — Safe Cone

The boss performs an attack that covers almost the entire arena, leaving only a narrow safe sector.
- A linear attack (clock hand) appears on one player
- That player must lead the line away from the safe zone
- Then quickly return to the safe sector
Mechanic 3 — Wheel of Torment
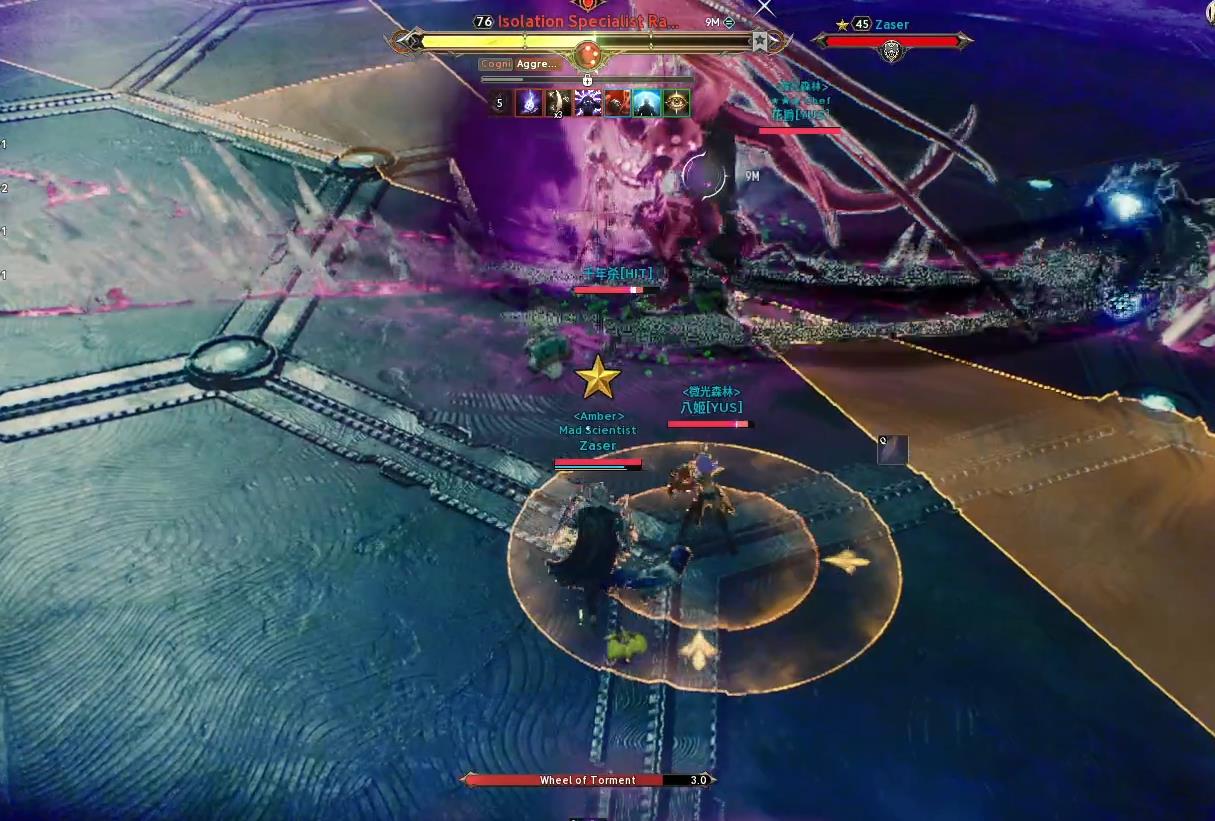
Players are teleported, after which waves of arena-wide strikes begin.
Mechanic 4 — Arena Split (~50% HP)
The boss divides the arena into 4 quadrants.
- The group must quickly choose a safe square
- Move there together
- Crossing the lines deals massive damage!
Mechanic 5 — Add Phase (~25% HP)
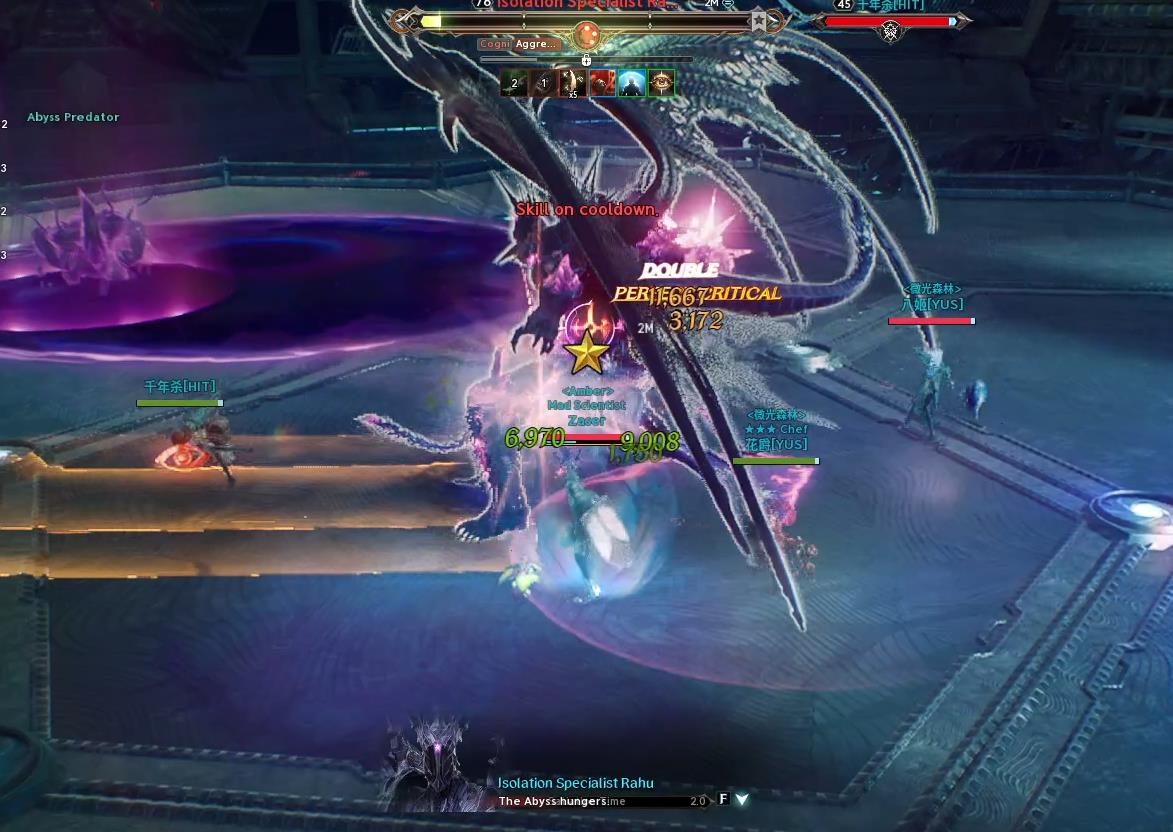
Circles with mobs appear. The boss fires a linear attack in the direction of one party member (an eye will glow on them).
- Use the boss's linear attack to kill the mobs: Abyssal Predator (Abyssal Predator) in the circles
- If a mob survives — an additional pool appears
- 3 pools = wipe!
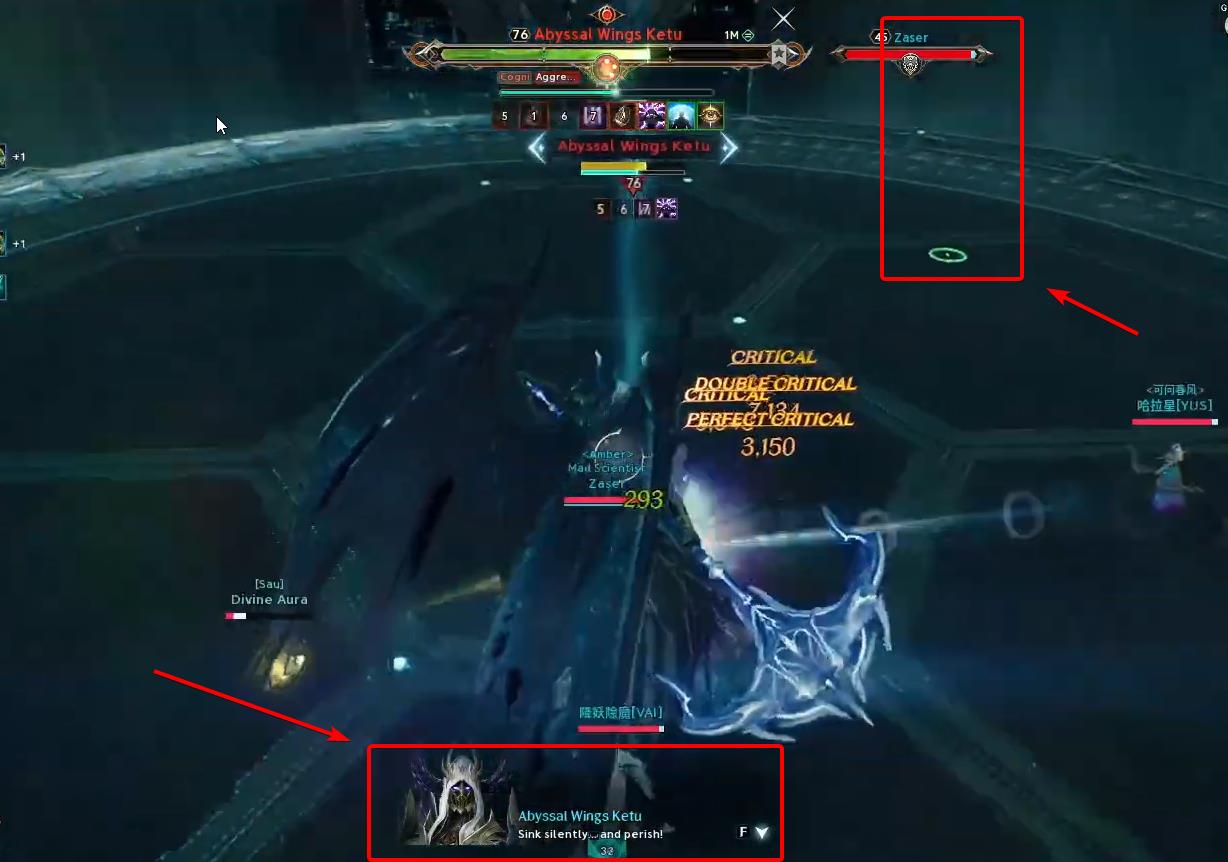
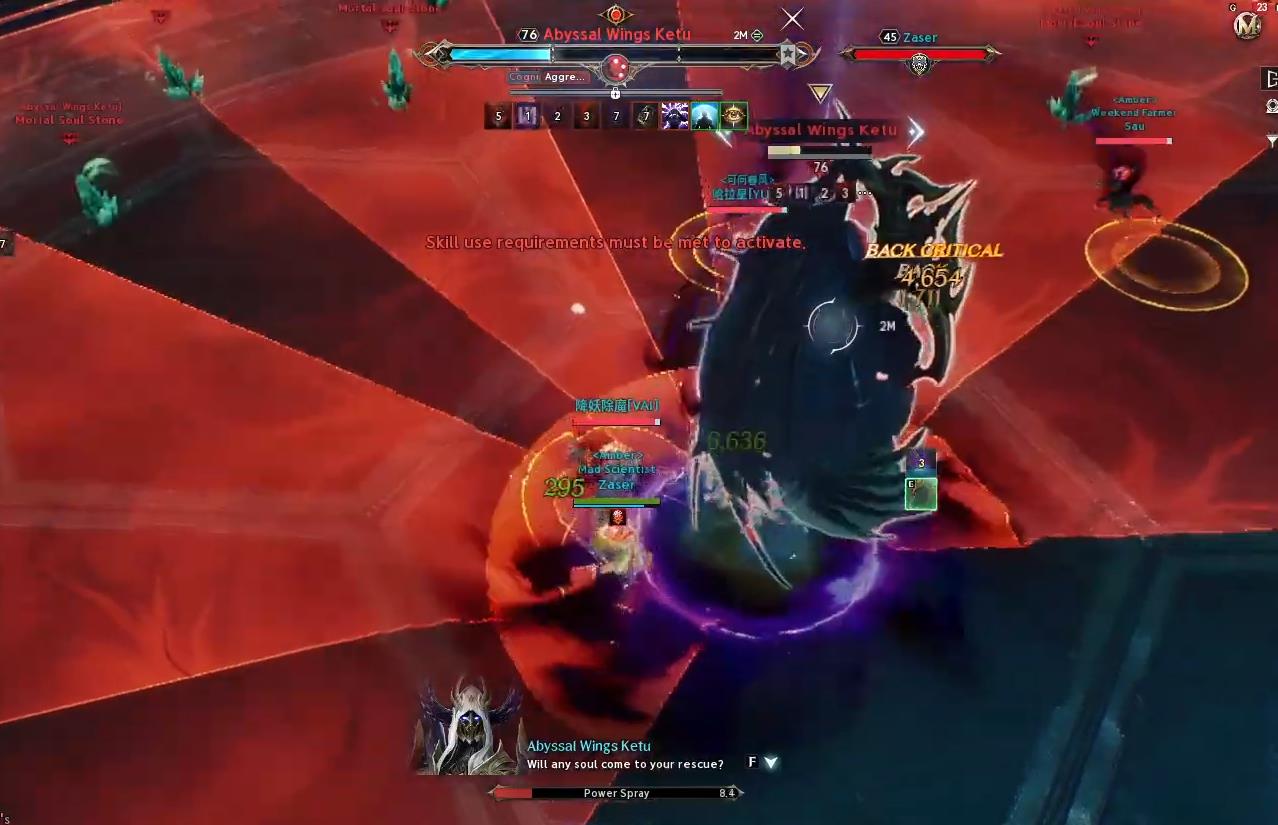
Boss 2: Ketu — Abyssal Wings Ketu
Extremely difficult boss mechanics-wise. Uses lasers, walls, eyes, and orbs.
Mechanic 1 — Laser Walls
Energy walls appear, moving towards the center.
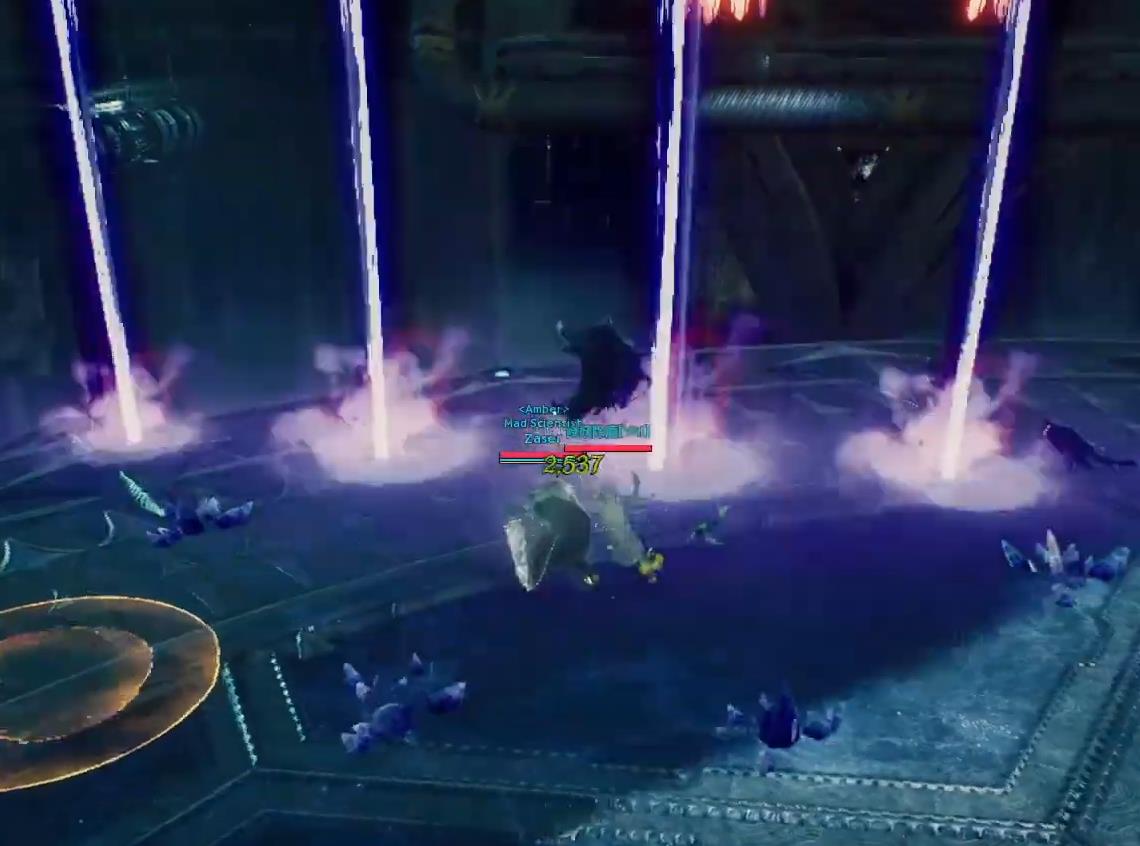
Along with them — many spirits (Evil Spirit).
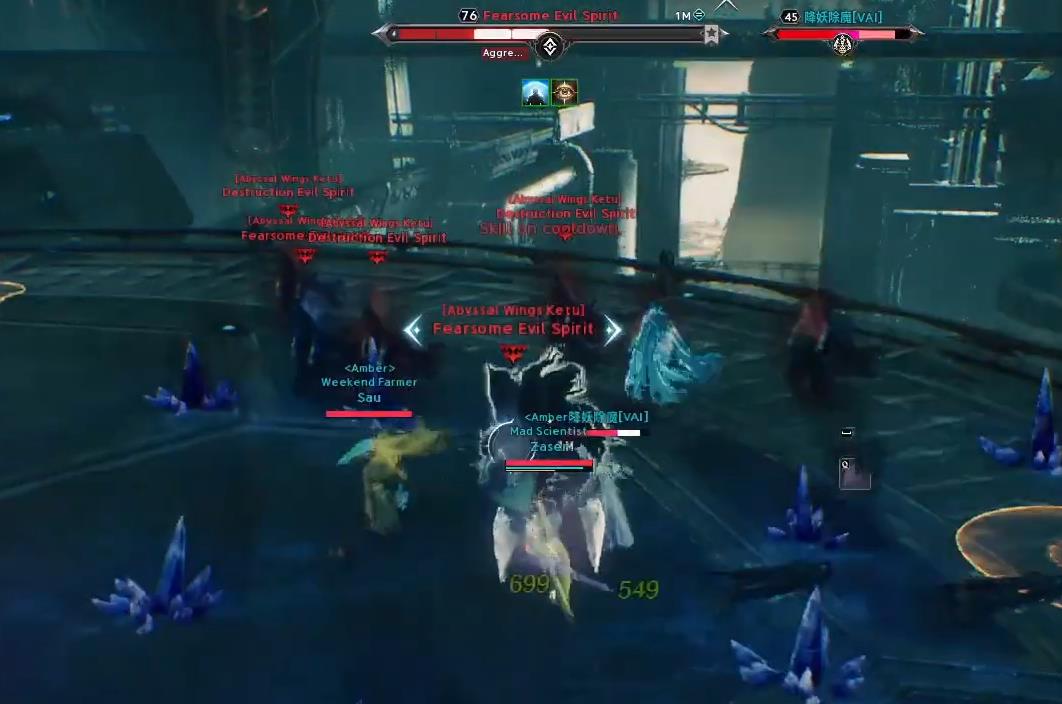
- Do not touch the walls
- Dodge the laser beams (once per phase)
- Destroy all spirits before the wall passes through them
- Dodge the falling shards (apply fear + damage)
- After the walls disappear — gather in the center
Mechanic 2 — Orbs
Orbs fall from the sky.
- Jump and destroy the orb
- If not destroyed — a massive explosion occurs
Mechanic 3 — Eye Mechanic
Eyes of two types appear:
Red Eye
You must LOOK at it
Blue Eye
You must TURN AWAY
Mechanic 4 — Soul Stones — THE MOST DIFFICULT
After certain patterns, a Soul Stone (green crystal) appears. The mechanic consists of 3 parts:
Part 1 — Red Zones
Massive AoE with knockdown on each character. Destroys the green crystals.
Part 2 — Breaking Crystals
A broken crystal grants protection for literally 2 seconds. You need to break 2 crystals in a row!
Part 3 — "Wind"
The boss unleashes a frenzied DoT damage across the entire map. You can survive only with the crystal's protection!
• 3 players gather in one spot (everyone except the healer) to preserve the maximum number of crystals
• The Healer uses an invulnerability skill during the red zone phase, then survives the wind thanks to the crystals
• After the wind, the 3-eye mechanic often follows — be careful!
• The Healer resurrects the party, and the boss is finished off
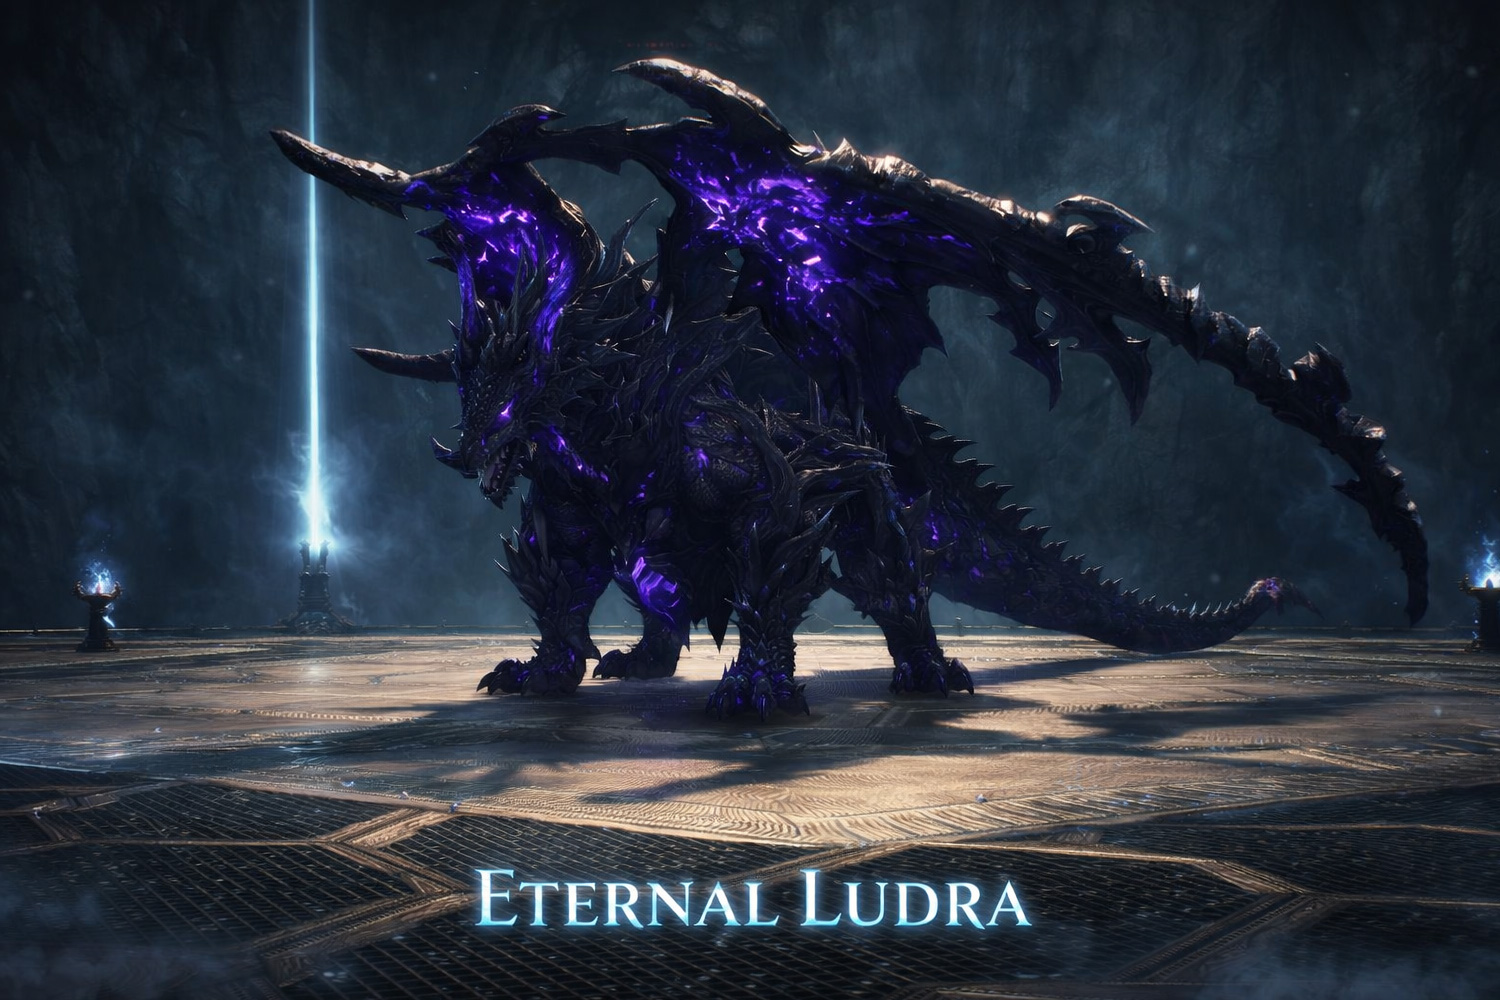
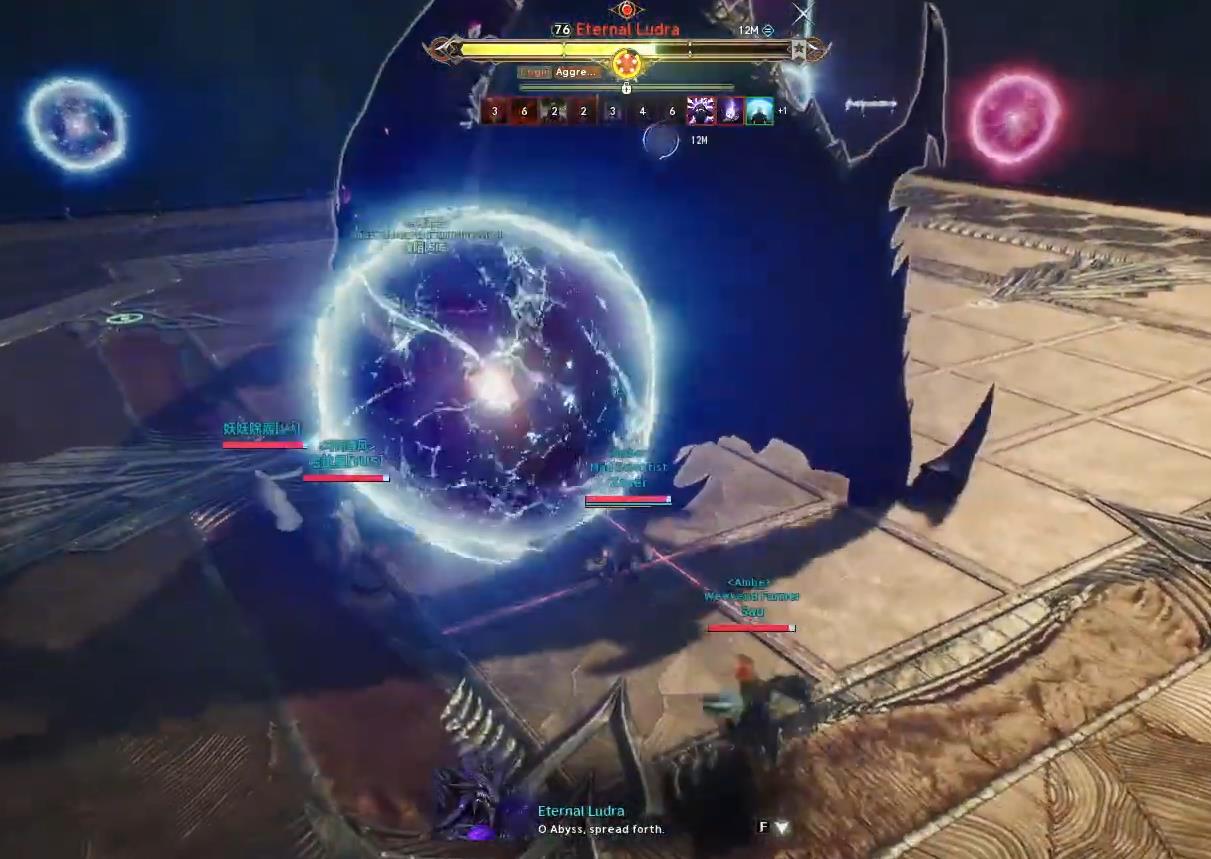
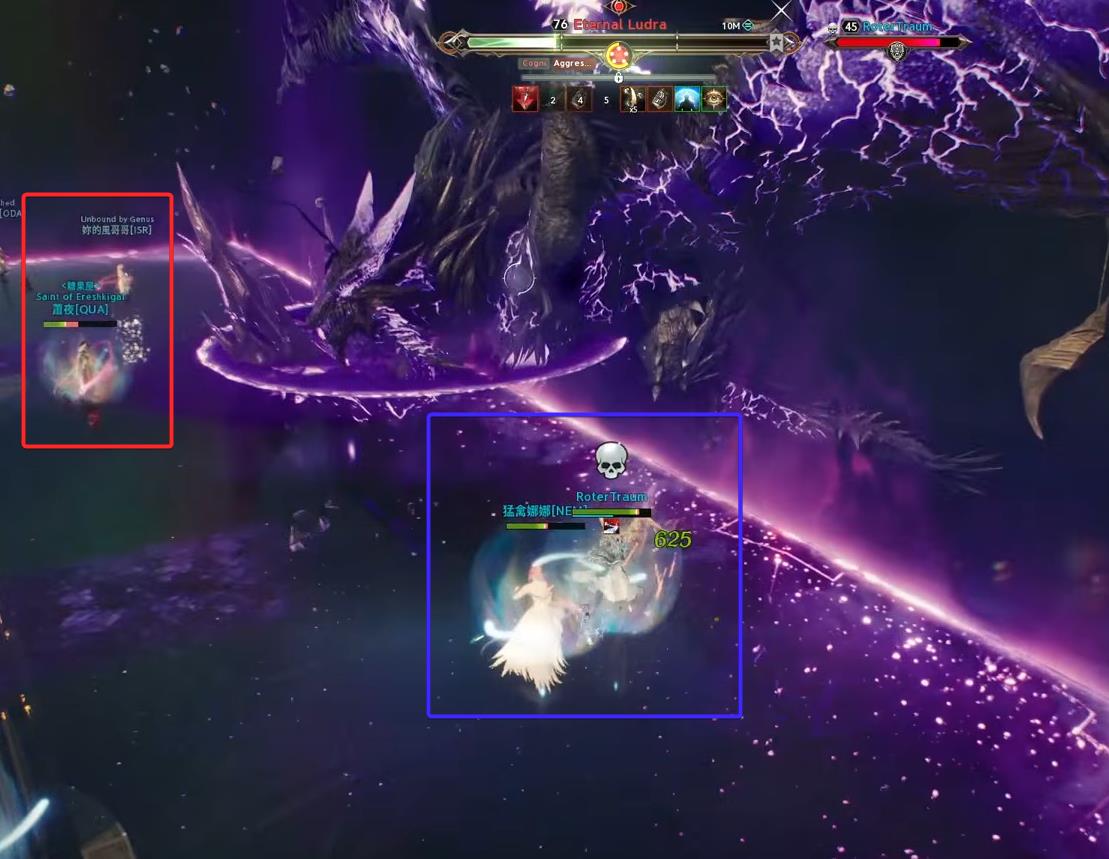
Boss 4: Eternal Ludra
The final boss of Sanctuary is a huge dragon. Many mechanics require quick reaction and coordination.
Positioning
Mechanic 1 — Orbs
Orbs of two colors appear:
Blue Orbs
Destroy with a jump
Red Orb
Explode with invulnerability or the tank's block
Mechanic 2 — Burning Circles
The boss destroys the outer circle of the arena.
The boss destroys the inner circle.
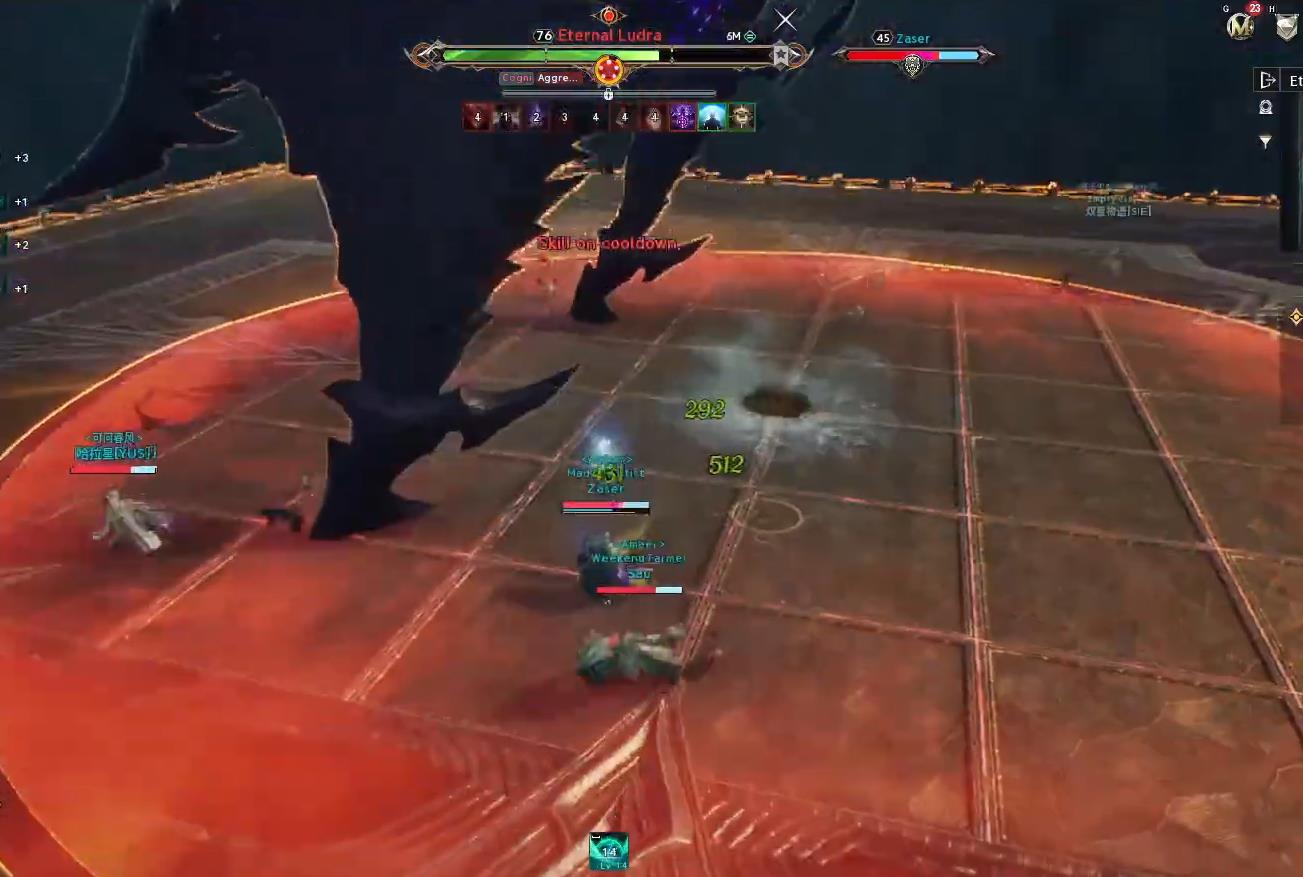
- For the first part — stay close to the boss
- For the second part (usually at ~75% HP) — be at the edge of the safe circle to have time to run out
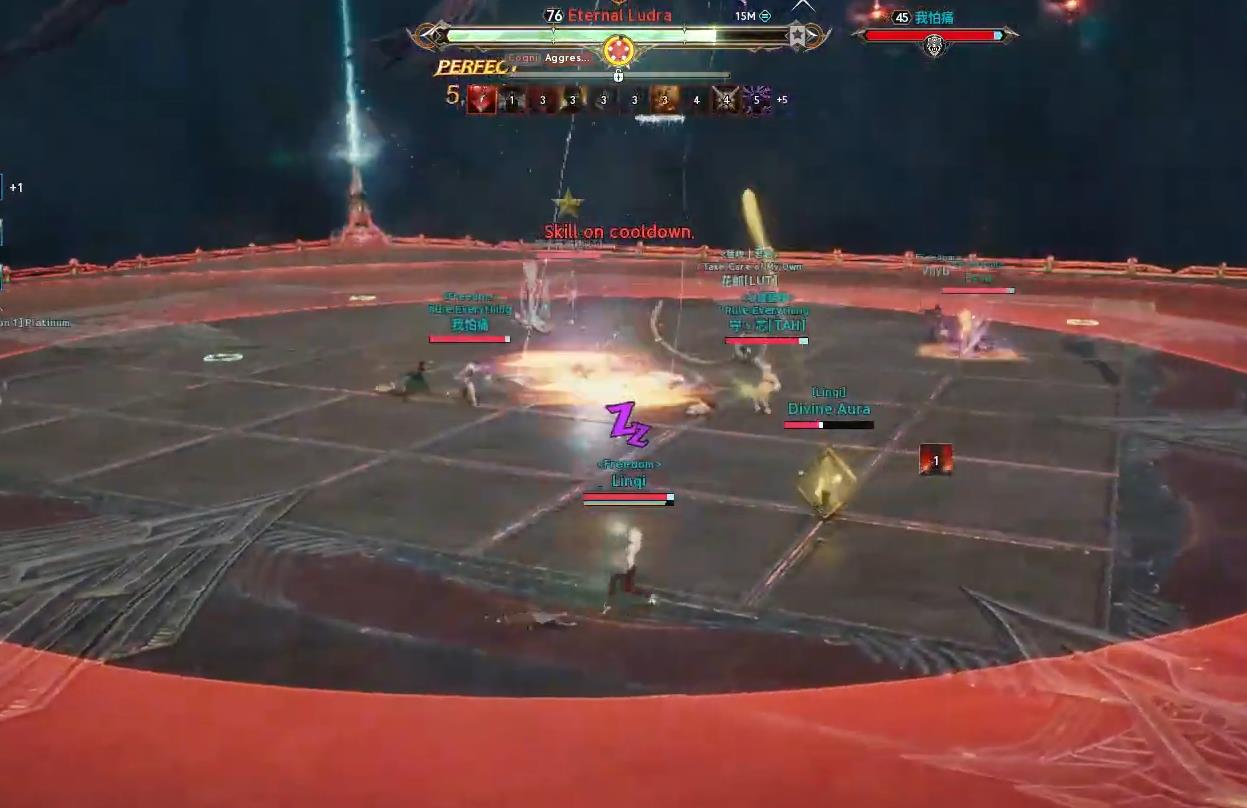
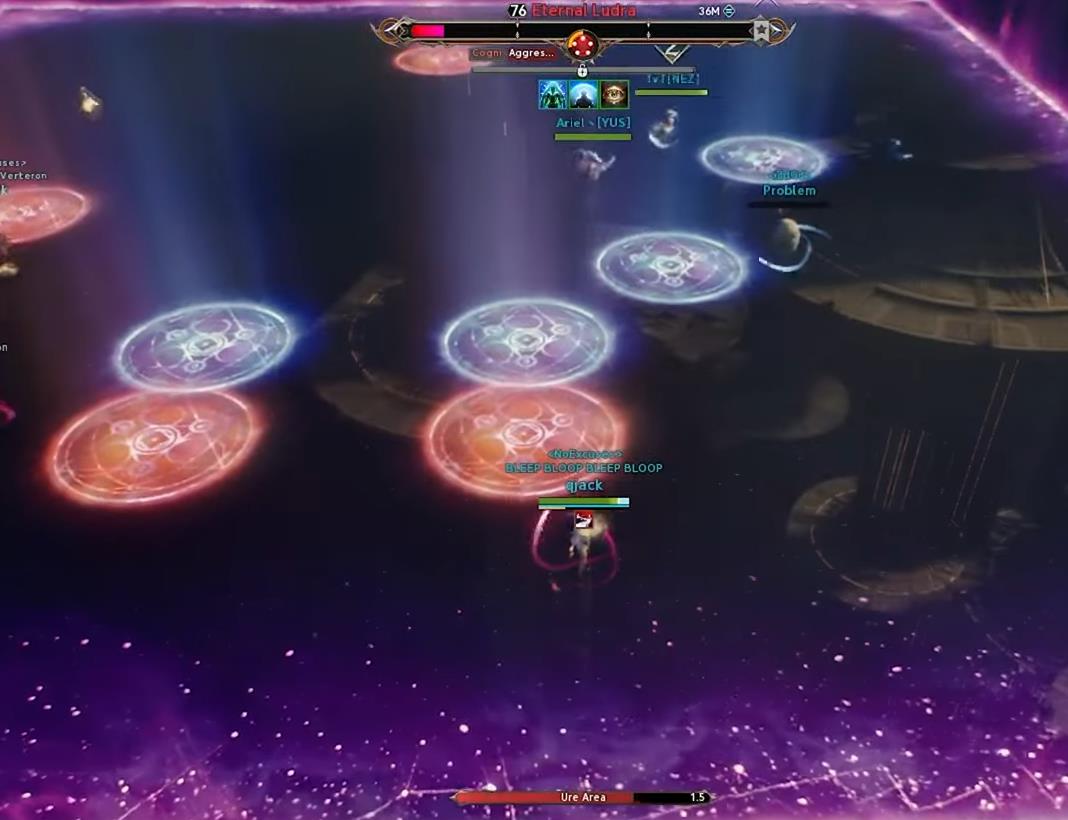
Mechanic 3 — Tile Puzzle
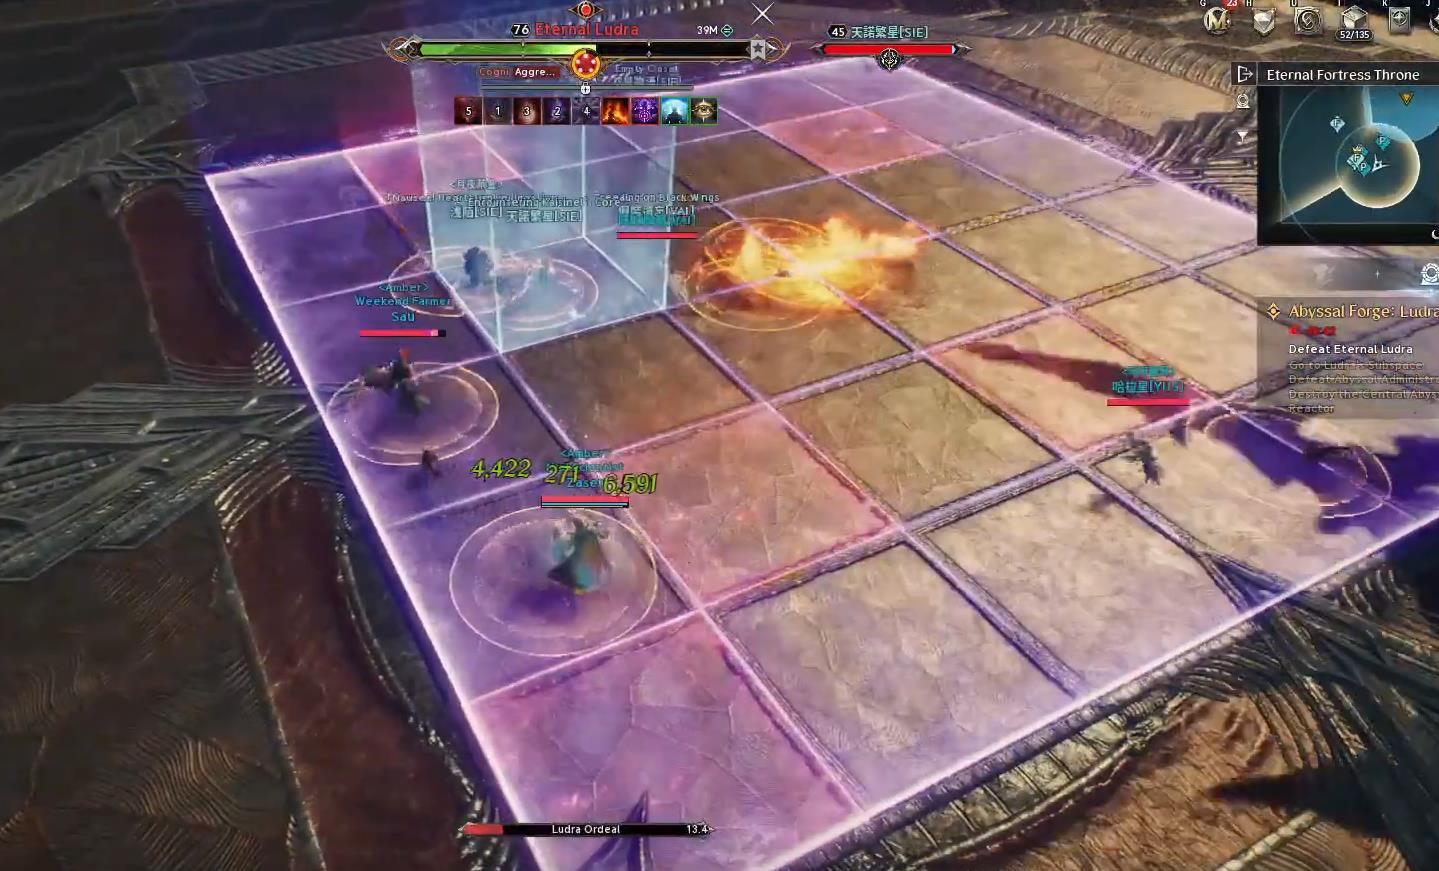
A grid of squares appears on the field. An attack from above is prepared under each character.
- Your task is to open squares with attacks and find the safe zone
- Start the search from the center of the arena
- After finding it — everyone gathers in the safe cube
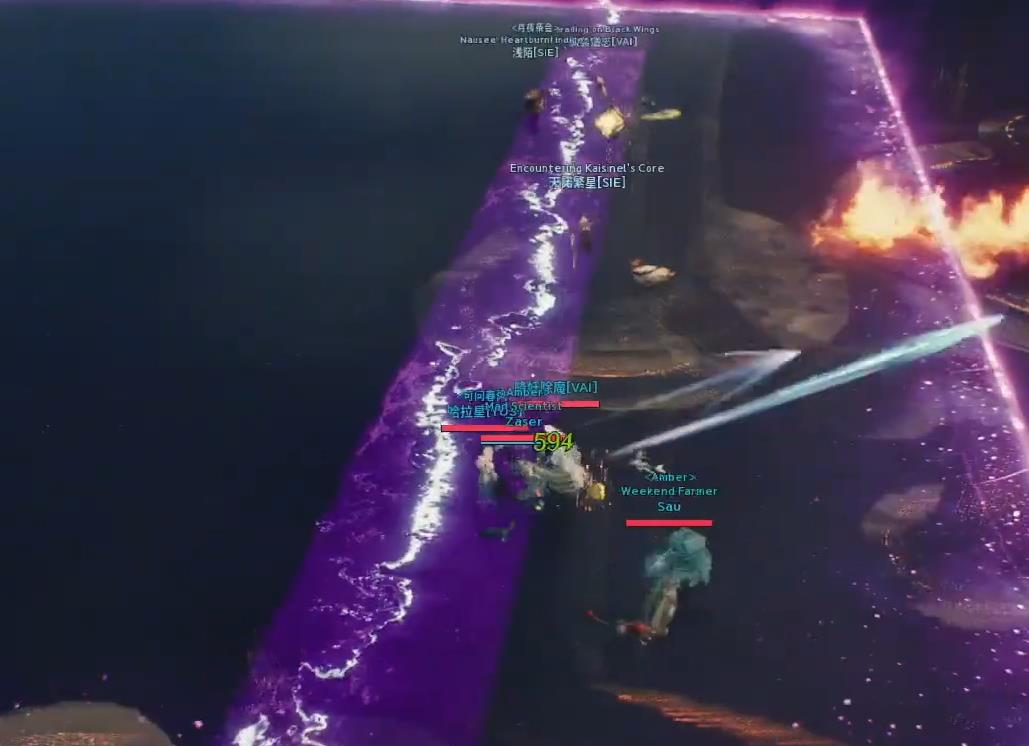
Mechanic 4 — Slash Lines
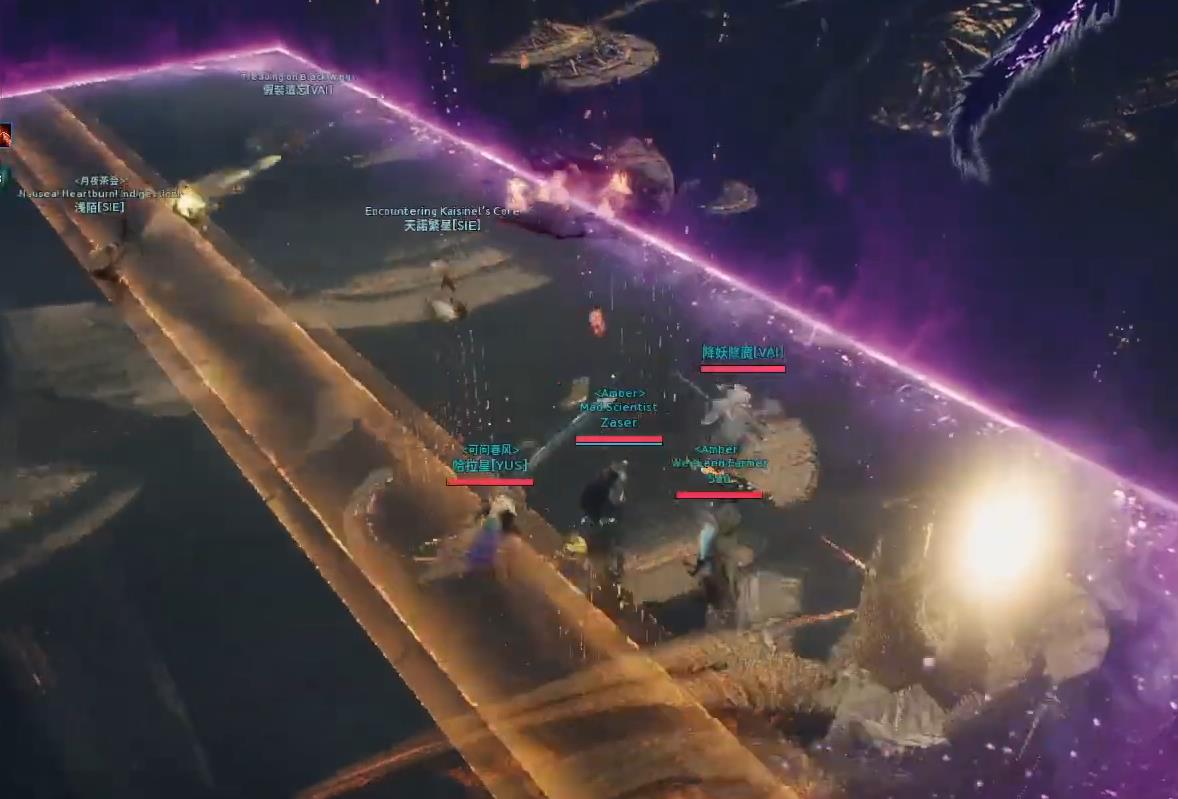
Slash lines appear on the field.
First: damage only along the line — do not stand on it
Then: the line becomes safe — stand on it, damage is everywhere except the line
Mechanic 5 — Tethers
Blue and Red flames are applied to players:
- Blue — move to one side
- Red — move to the opposite side
Mechanic 6 — Colored Platforms
Blue and red platforms appear on the arena. Before the boss's powerful attack:
- Each player must find a platform of their own color
- Only one player can stand on a platform
- Step onto the platform 1 second before the attack! NOT EARLIER!